My Workbench

Saturday, January 26, 2013

Langton's Small Merchant with Scratchbuilt Masts & Sails

A while back I ordered one of Langton's small merchant ships from Waterloo Minis. I wanted the full studding sail set but all Rob Eubanks had in stock was the easy sail courses furled. So I said OK, send it and I'll scratchbuild the rest of the sails. In the same order I also got a 24 gun sloop of war without a sail set.

After fitting the masts that came with the merchant to the sloop to see how they looked, I decided to save the brass easy sail set and masts for the sloop and scratchbuild masts and sails for the merchant.

I will be going back to work for two weeks tomorrow so I won't be able to finish until I get back, but here is what I've got done so far.

Making the brass sails:

 I cut up the ratline mesh and glue to the sails
 Glue on the spars


 The spanker
 The scratch masts. Sorry I didn't take any pictures of the construction
 Mast close up
 Masts and full sails on
 Standing rigging


Still to do: Put on the spar extensions for the studding sails and the royals. Then finish the rigging, and of course the base.

Wednesday, January 23, 2013

Langton's 1:1200 HMS Glatton

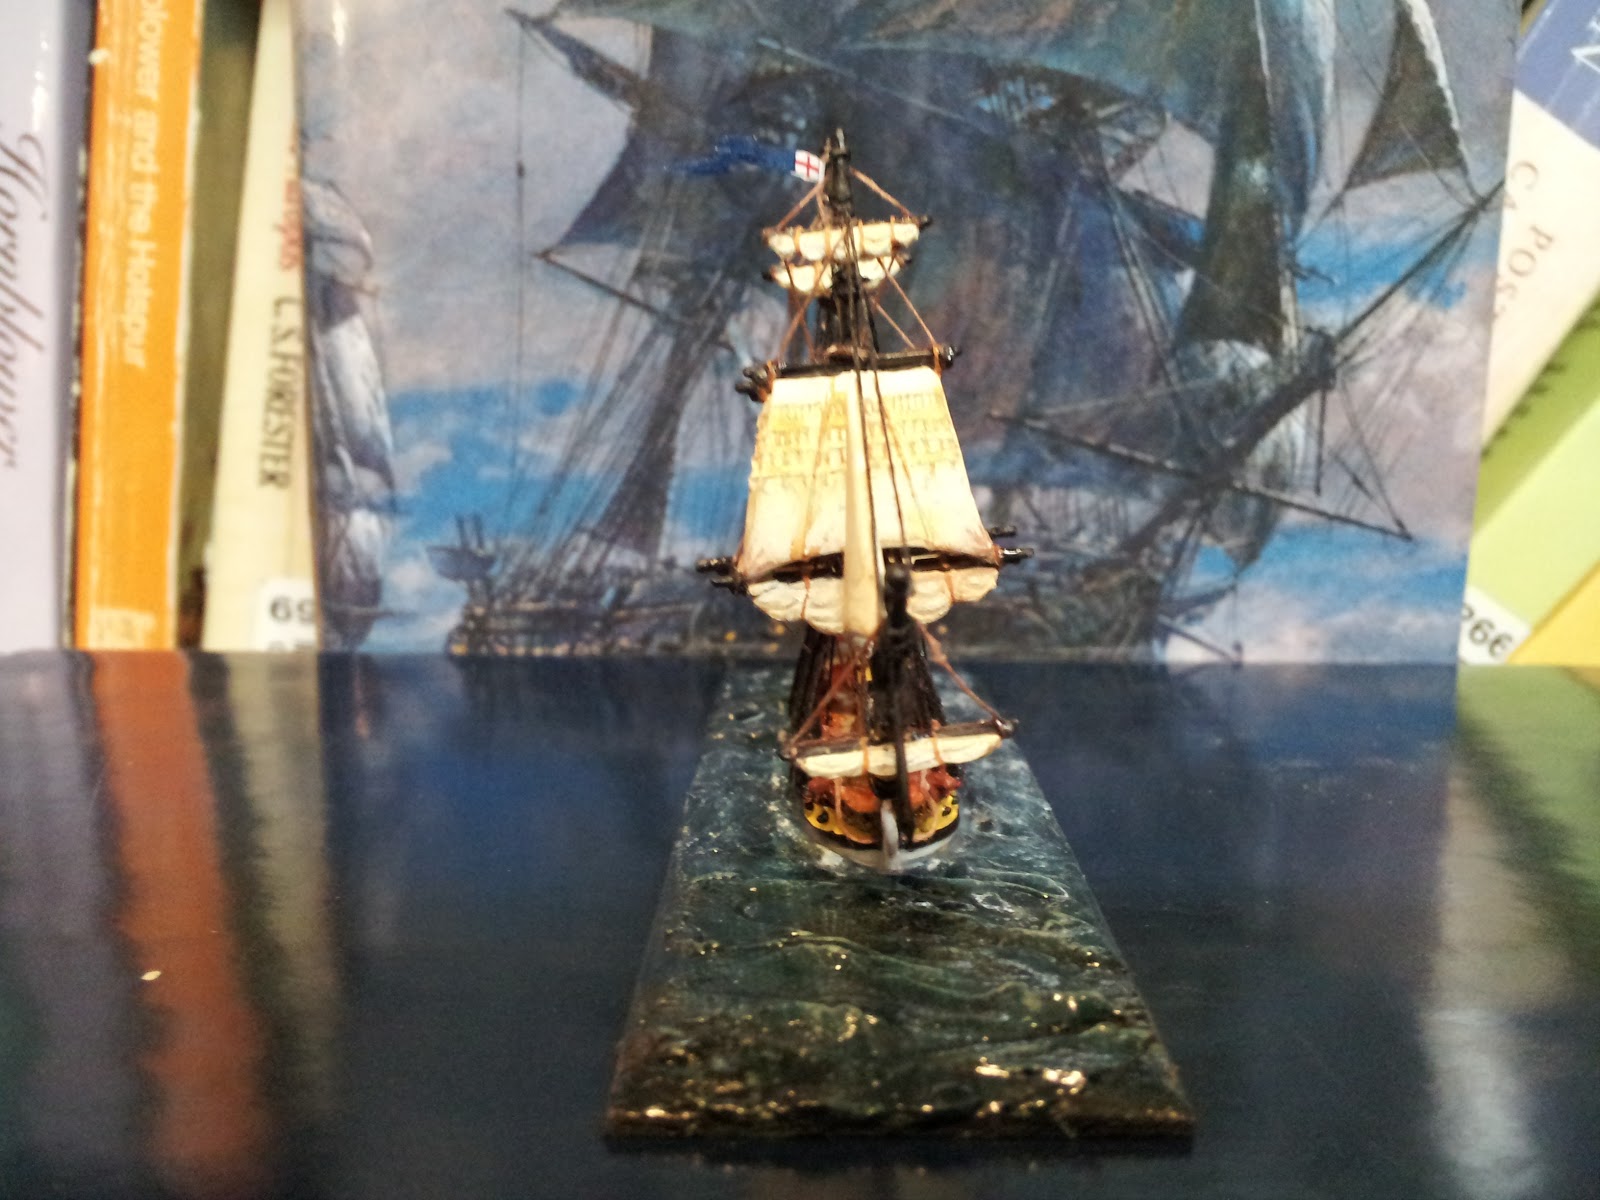
The latest addition to my growing fleet is the HMS Glatton 56 gun 4th rate. 28 x 64 pounder carronades on the lower gun deck and 28 x 42 pounder carronades on the upper gun deck. Here is a short service history borrowed from http://www.napoleon-series.org/military/organization/Britain/Navy/c_hmsglatton.html:

In 1795, as part of its expansion after France and Holland became allies of France, the Royal Navy purchased nine 1,200-ton East India Company merchantmen then building on the Thames River. These ships were then converted to 54 or 56-gun warships by joining the forecastle and the quarter-deck (forming a continuous upper-deck). Armament for eight of the new vessels consisted of twenty-eight 18-pounder long guns on the gun-deck and twenty-six to twenty-eight 32-pounder carronades on the upper-deck.[4] They were classed as 'fourth-rates'.

The ninth vessel, the 56-gun HMS 'Glatton', became the Royal Navy's first (and only) warship armed exclusively with carronades. With twenty-eight 42-pounder carronades on her upper-deck and twenty-eight 64-pounder carronades on her lower-deck,[5] HMS 'Glatton' was a boarder's nightmare.

The first commanding officer of HMS 'Glatton' was Captain Henry Trollope (20.04.1756-02.11.1839) a veteran of the American War of Independence and a strong supporter of the use of carronades. Trollope would later command the 74-gun HMS 'Russell' at the Battle of Camperdown (11.10.1797).[6]

Probably the most famous commander of HMS 'Glatton' was Captain (later Vice-Admiral) William 'Breadfruit' Bligh (09.09.1754-07.12.1817). Bligh, who had served under Captain James Cook from 1776 to 1779, had been in command of HMAV 'Bounty' when the crew, led by master's mate Fletcher Christian, mutinied (28.04.1789). Bligh and 18 loyal crew members were set adrift in one of the ship's boats; 47 days and 3,618 nautical miles later they reached safety at the Dutch port of Coupang in Timor.[7]

Ironically, although Bligh held command of HMS 'Glatton' for less than a month (18.03.1801-12.04.1801) it was during this month that Vice-Admiral Horatio Nelson engaged the Danish Fleet at the Battle of Copenhagen (02.04).[8] The British victory cost the ship's crew 51 casualties (17 killed and 31 wounded). Bligh later received the personal thanks of Nelson for his conduct during the engagement.
HMS 'Glatton' was not in the line of battle at Trafalgar in 1805. She continued active service until 1814, when she was converted to a water depot. In 1830, HMS 'Glatton' was sunk as a breakwater.

The high-water mark of [William] Bligh's naval service was as Captain of HMS Glatton in the Battle of Copenhagen in 1801. Having spotted a Dutch frigate maneuvering to attack HMS Elephant, the flagship of Admiral Horatio Nelson, Bligh sailed directly into the line of fire and caught most of the enemy's broadside. The Glatton was severely damaged but remained afloat; the Elephant was saved.
                                                                         -- www.findagrave.com

Working on the standing rigging
Sails are on
Now for the running rigging. Notice that I am back to using thread. The horse hair is just too brittle and super glue doesn't stick to it well. I found that if I wax the thread before I apply it, I don't get the 'fuzzies' later on. I still use the horse hair for some applications, like towing ropes for boats.

And finished


Langton 1:1200 Rowed Boat Packs

I recently purchased several Langton boat packs from Rob at Waterloo Miniatures. The packs consisted of both rowed and sailed ships boats. I painted several of the rowed boats to set in the port.

Gunboat Launches


Pinnaces
And cutters


GHQ's 1:1200 West Indies Merchant

The following pics are of GHQ's West Indies Merchant vessel. I'm not sure exactly what it is, it kind of looks like a small East Indiaman.


Monday, January 7, 2013

Water Technique

A couple of folks have asked me how I did the water on the port. Since I didn't have and didn't want to spend the money on the expensive resin type water materials, I experimented on this project and came up with a cheap method that turned out really nice. So here is a short description of the method I used.

Materials

  • Americana Navy Blue acrylic
  • Anita's Acrylic 11056 Ocean Blue
  • Black acrylic
  • Americana Snow (Titanium) White
  • Rustoleum Ultimate Spar Varnish
  • Modge Podge
  • Americana Triple Thick Brilliant Gloss Glaze
  • Decorator's Solution Clear Dimensional Silicone
All purchased at Hobby Lobby except for the Varnish.

1) Mix up the paint thick with no thinning: 4 parts navy blue, 2 parts ocean blue, 1 part black (I added a little more black for inside the breakwaters.)

2) Paint the whole area with large arcing strokes toward the wind direction. I used a 1" brush. let it dry completely.

3) Apply a thin coat of the spar varnish and let it dry.

4) At this point I glued down the breakwater pieces.

5) I used a 1/4" stiff flat brush and lightly stabbed in thin white arcs to simulate the wind driven rollers coming in. I also added the breaker lines for the island, mainland, and breakwaters. After this dried I took a folded wet paper towel and rubbed the white lines to make them more subdued or suttle.

6) Add texture to the shore and breakwater breakers with the dimentional clear silicone using a flat tooth pick to apply it along the white lines. Apply about two inches worth then go back and dab the silicone with the toothpick to raise the peaks. This is tedious work but the effect was worth it IMO. Allow to thoroughly dry.

7) Dry brush the breakers with white.

8) Apply a thick layer of Modge Podge and let it dry.

9) Apply any touch ups needed like more dry brush accents for breakers, currents, reefs, etc.

10) Apply a final coat of the triple thick brilliant gloss glaze.

That's it. Again this is the first time I've done it this way and I like the way it turned out. I will use this method for larger terrain pieces. But I will continue to use the other method for my individual ship bases.