Like I said in my last post, it's that time of year again. Time to fill Christmas requests from our two daughters. Again, the themes this year are Harry Potter and the Lord of the Rings, although Eragon, Anne McCaffrey's Dragon Riders, Wheel of Time, and Horror were also mentioned. I'll have to keep these others in mind for later perhaps.
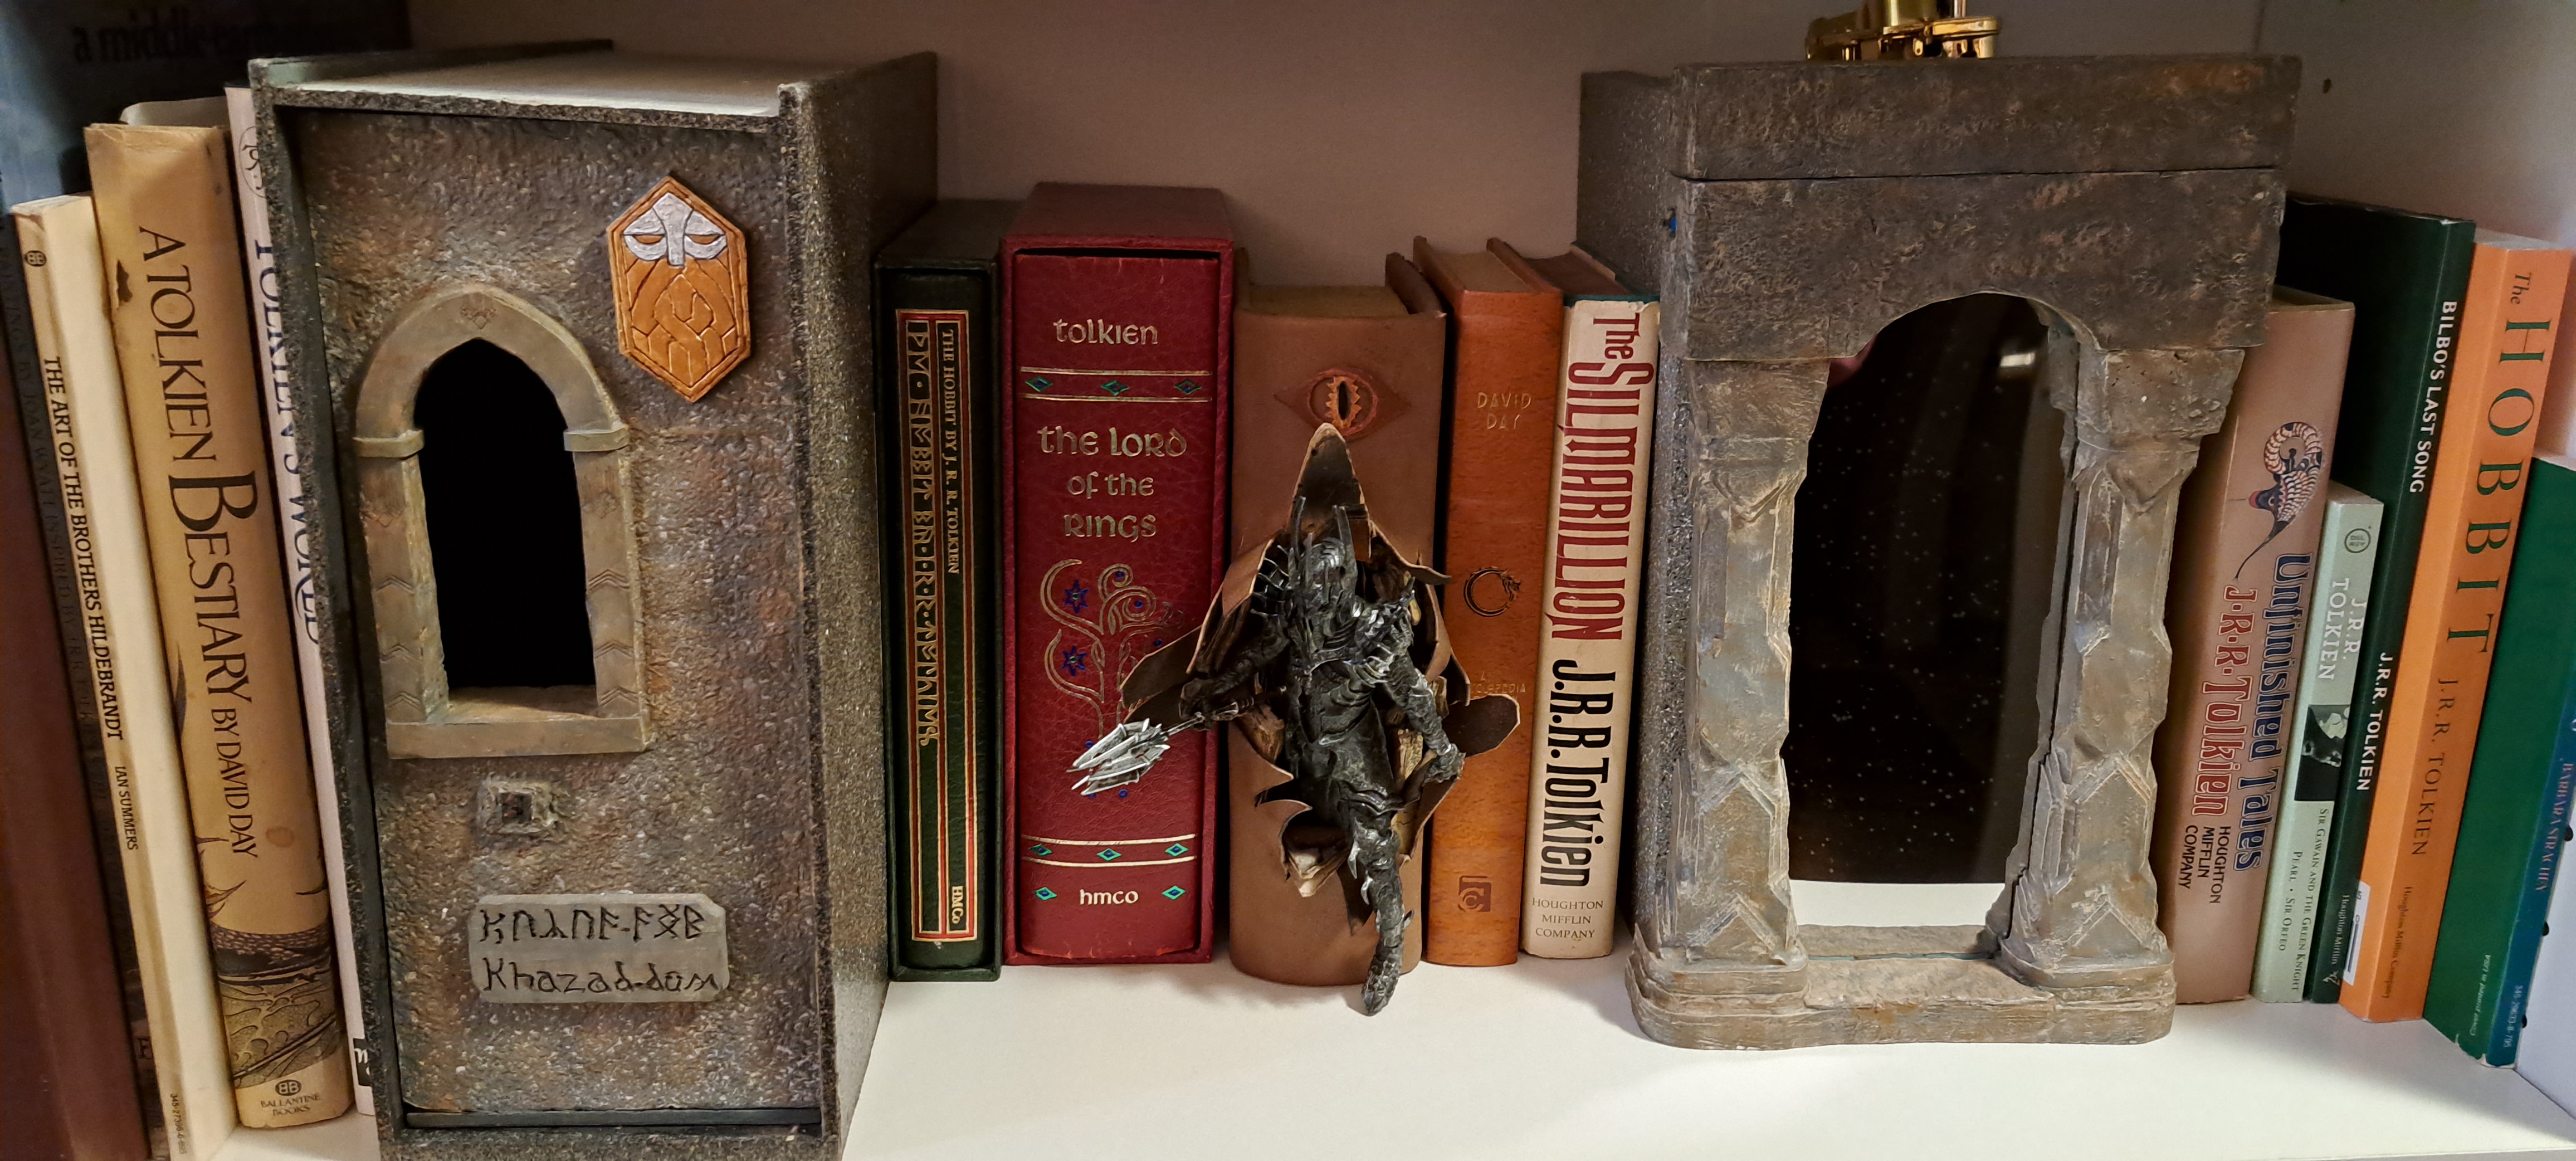
The first booknook for this year is finished. I must confess this isn't an original idea. I saw a similar one created by an artist in Poland, I think. But there were a few things about it I thought didn't look right and should be different. So this is my version. I wanted Sauron to be actively stepping out of the book, not just standing looking out. And since the figure is from the movie version, I felt the ring and mace should be in the right hand not the left, like in the movie. And rather than have scraps of book pages stuffed or pasted randomly around the figure's torso, I thought it would look better to have book pages sandwiching the portion of the figure still in the book and show the fires of Mount Doom flickering between them, behind the figure.
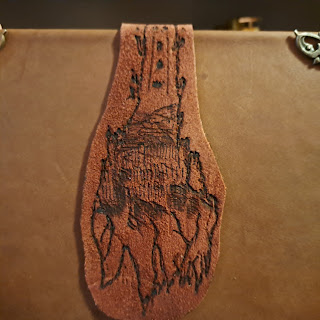 |
| I burned in a Barad Dur design for the book clasp. It was the only thing I could think of. |
 |
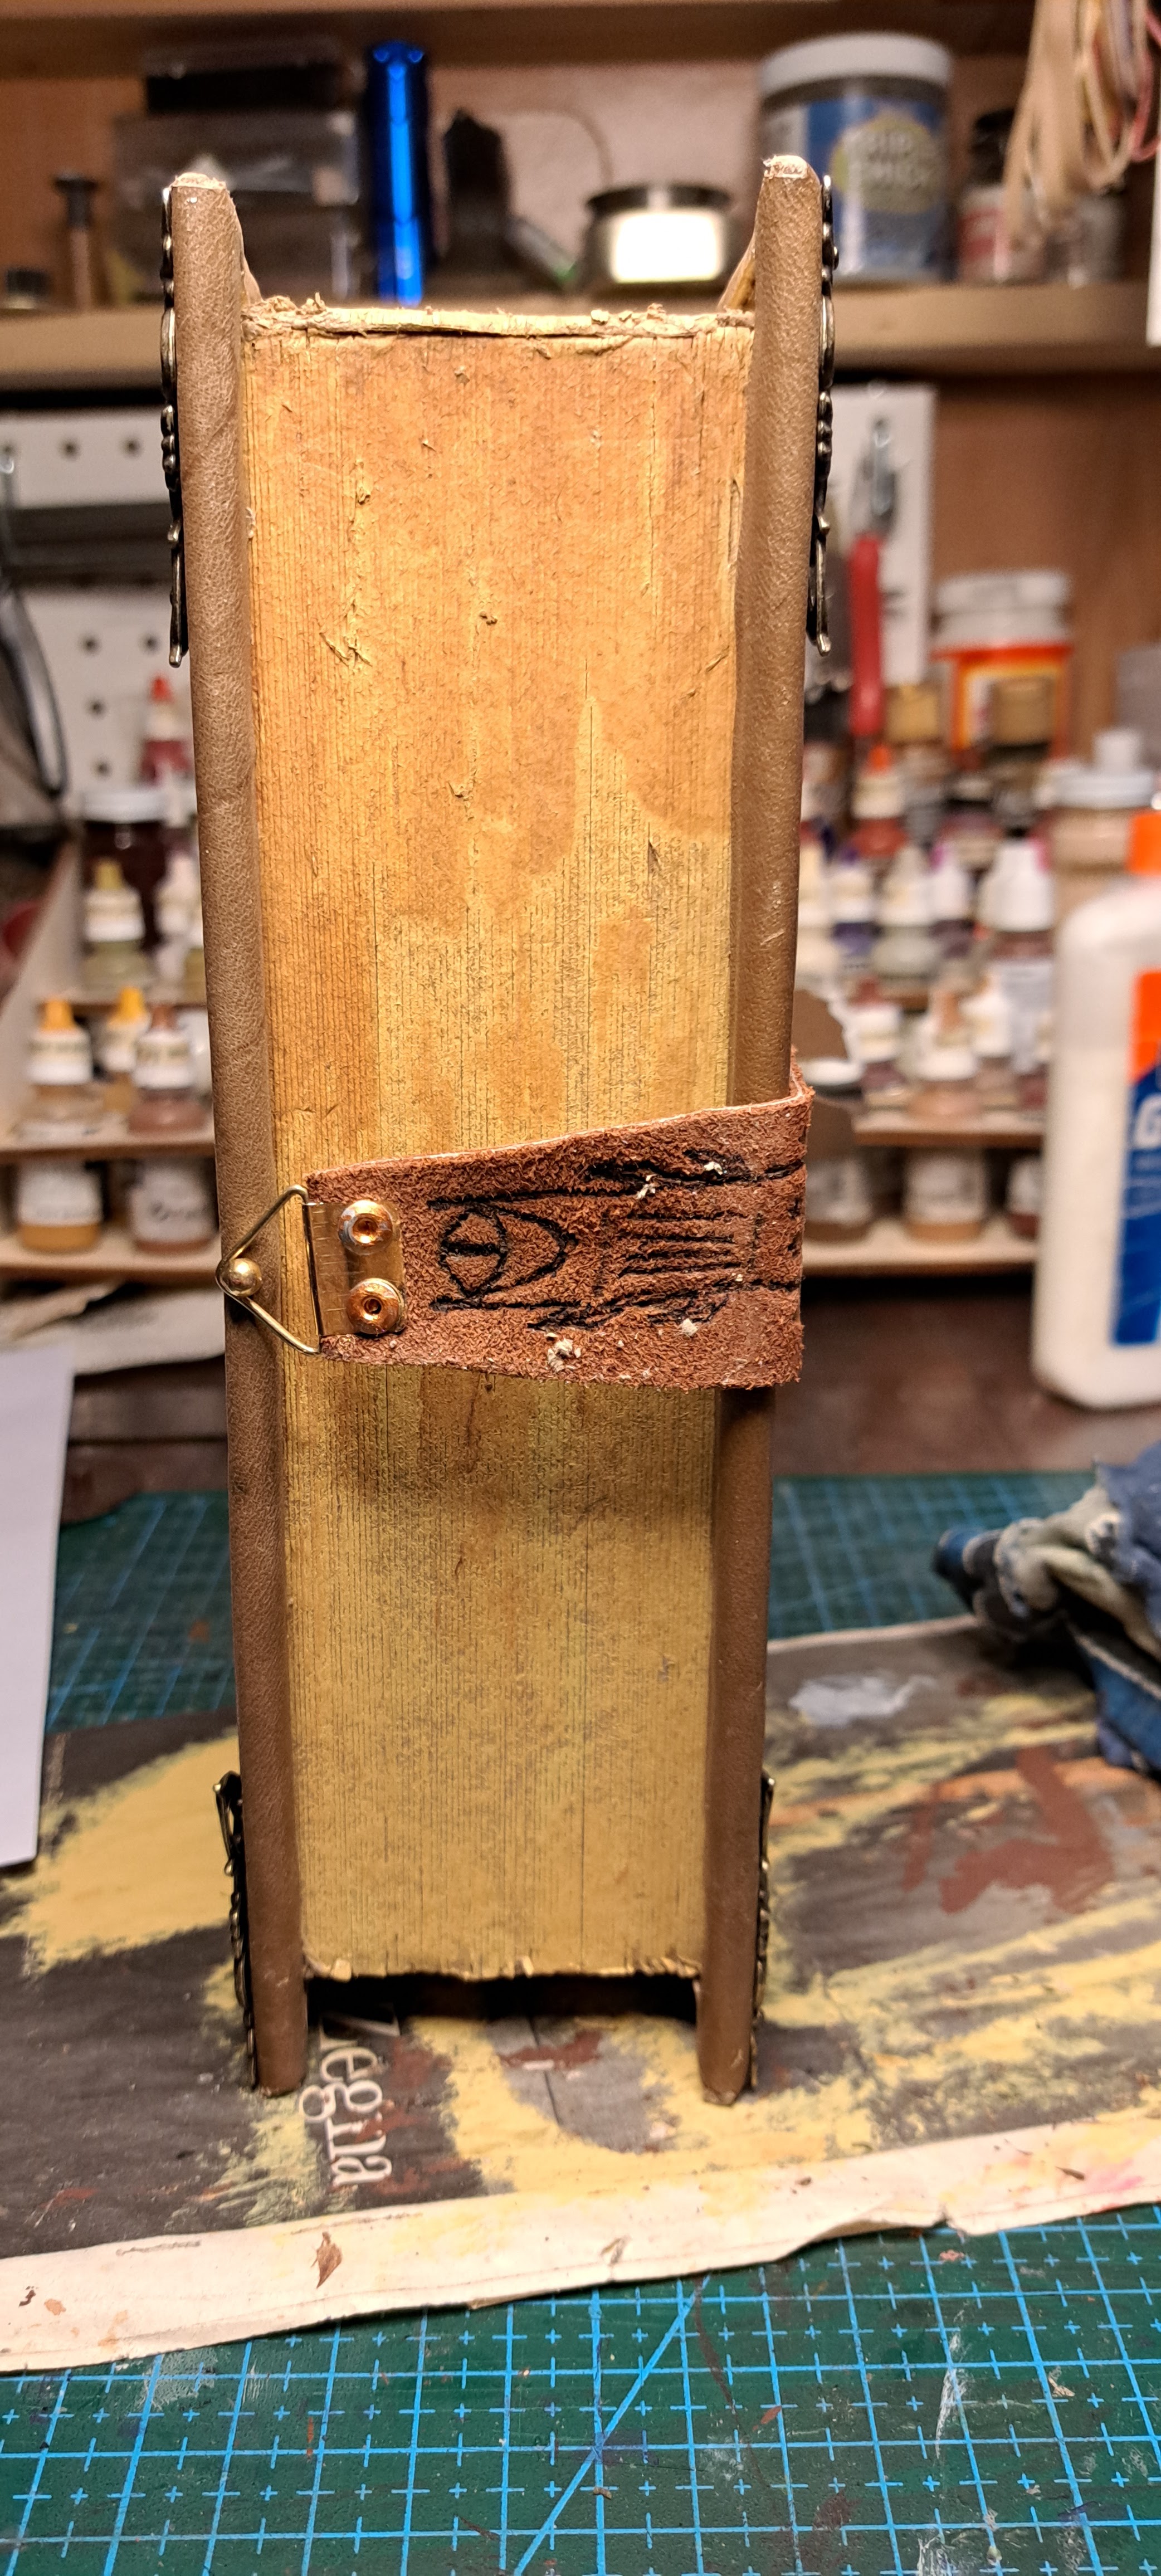
| This book blank came from the paper machè section at Hobby Lobby. It was surprisingly tough to cut into, being double layered in the spine. |
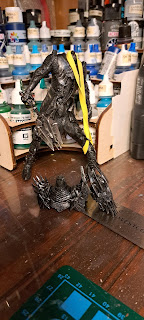 |
| I dismantled the shoulder armor and head to get them ready for lights. I used a sharp blade, heat gun, and rubber band to shape the left leg for stepping out. I drilled the length of the body cavity and shved a straw through the hole to accomodate the wires for the head light. |
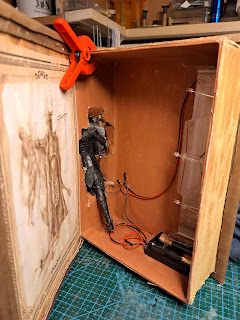 |
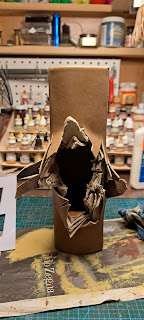
| The back end of Sauron showing here with the wiring, battery box, and 3 candle flicker bulbs. |
Now I have to get to work on the next gift for Daughter #2.