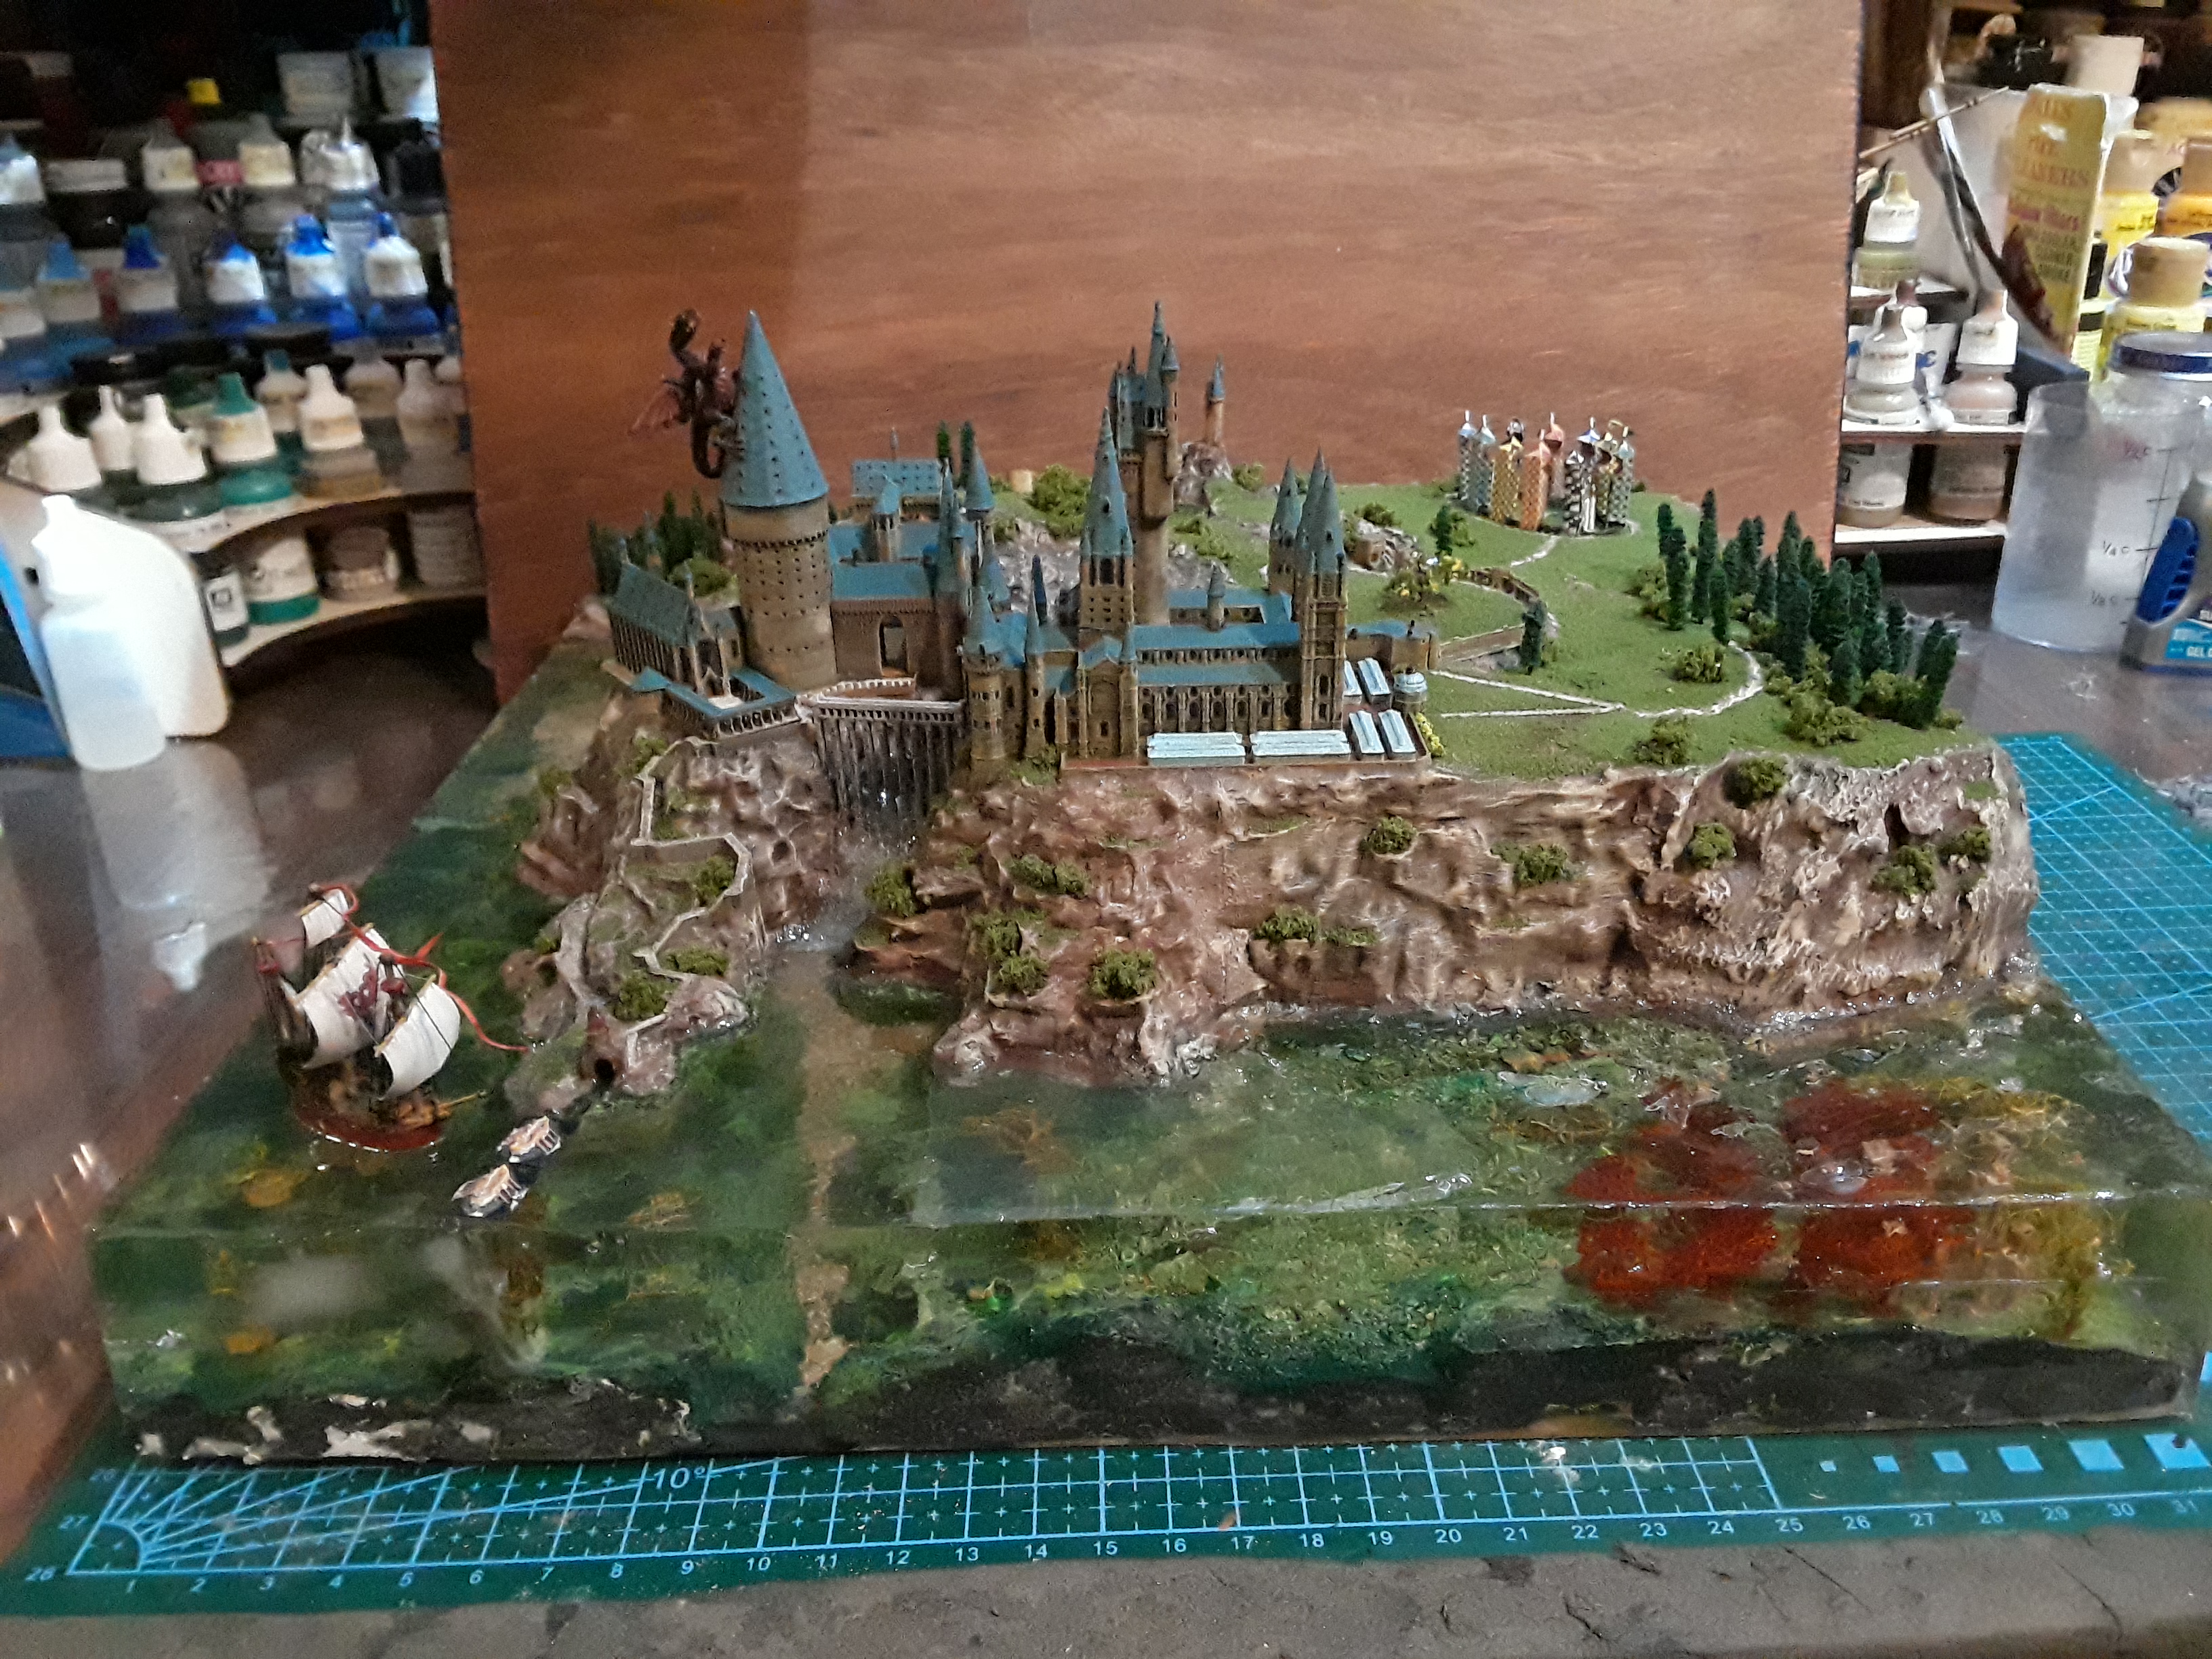
Well I know I said I was going back to ships, and I did. I finished a 1/700 scale Bounty and got over half way through completion of a 1/190 scale Bounty. But my daughters started pressuring me again to do some more booknook or diorama work on their favorite themes, notably Harry Potter of Lord of the Rings. So here is my full build of Hogwarts.
I started out with the free 3D STL files from MyMiniFactory.com of the castle. For 1/1200 scale I resized and printed out each section which took a few days. The pieces took quite a bit of carving and sanding work to get them to fit properly. Once securely together, it was time for painting.
 |
| My youngest daughter pointed out that all of the roofs should be the same color as the towers so I had to repaint them. |
So at the point I thought I was about done with this project a group text with the girls made me realize I had just barely started. It went kind of like this: D1 "Is Hagrid's going to be there?" D2 "Yeah Hagrid's hut with the pumpkins and Buckbeak! That would be so cool!" D1 "...and the Quiditch pitch too, there has to be a Quiditch pitch!" D2 "....and the whomping willow....." D1 "....with the Weasley's flying car...." D2 "....yeah the car...." D1"Can you do the lake too?" D2 "Oh wow the lake! Can you do that Dad, please?" yadayadayada, pretty much how it went!
So now I had to figure out how I was going to add the real estate to add all of these extra features. First I had to figure out where everything went. This may sound easy but it wasn't! I downloaded at least seven layout maps of Hogwarts and the surrounding area, showing all of these details my girls wanted. They were all different in one or more ways from each other. Then I went to YouTube and found out that the location of things changed through the course of the movies. It seems each different Director had his own thoughts of where things should be and just changed locations without thought to canon! And the books don't give concise enough details for my purposes, at least not for everything. So I ended up marathoning all of the movies. This took two or more times longer than it normally would because I had to stop, rewind, watch again, stop, rewind, and watch again several times to nail down where something was in relation to the parts of the castle that were visible in background shots. Very tedious work. For instance, in the first two movies the whomping willow was located in the courtyard behind the school just past the greenhouse gazebo. Hagrid's hut was located just outside the gate from that same courtyard and the Dark Forest was right behind his hut. In the third movie all of that changed. The whomping willow was now outside the school's grounds on a ridge overlooking the lake somewhere I couldn't determine because there was never a shot towards the castle for bearings. Hagrid's hut was moved to the other extreme side of the castle, reached from the Clock Tower, across the covered wooden bridge, through the standing stones, down a hill to the hut at the bottom. The dark forest had moved as well, still behind Hagrid's hut. So for this build I chose the original position of the whomping willow with the Weasley car caught in the branches, and the later location for Hagrid's. The lake stuff is mostly from the Goblet of Fire movie including the dragon.

 |
| Spruce trees are made from painted chenille stem pipe cleaners |
 |
| Using a couple of the various maps to mark out where things will go. |
 |
| After a thick coat of black Mod Podge |
 |
| Applied texture to the surface to fill gaps and holes |
 |
| Sorry for the poor photo. The pitch field is 3D printed and the towers are made from card. |
 |
| The brass eyes I use on my ship models came in handy for the goal hoops. |
 |
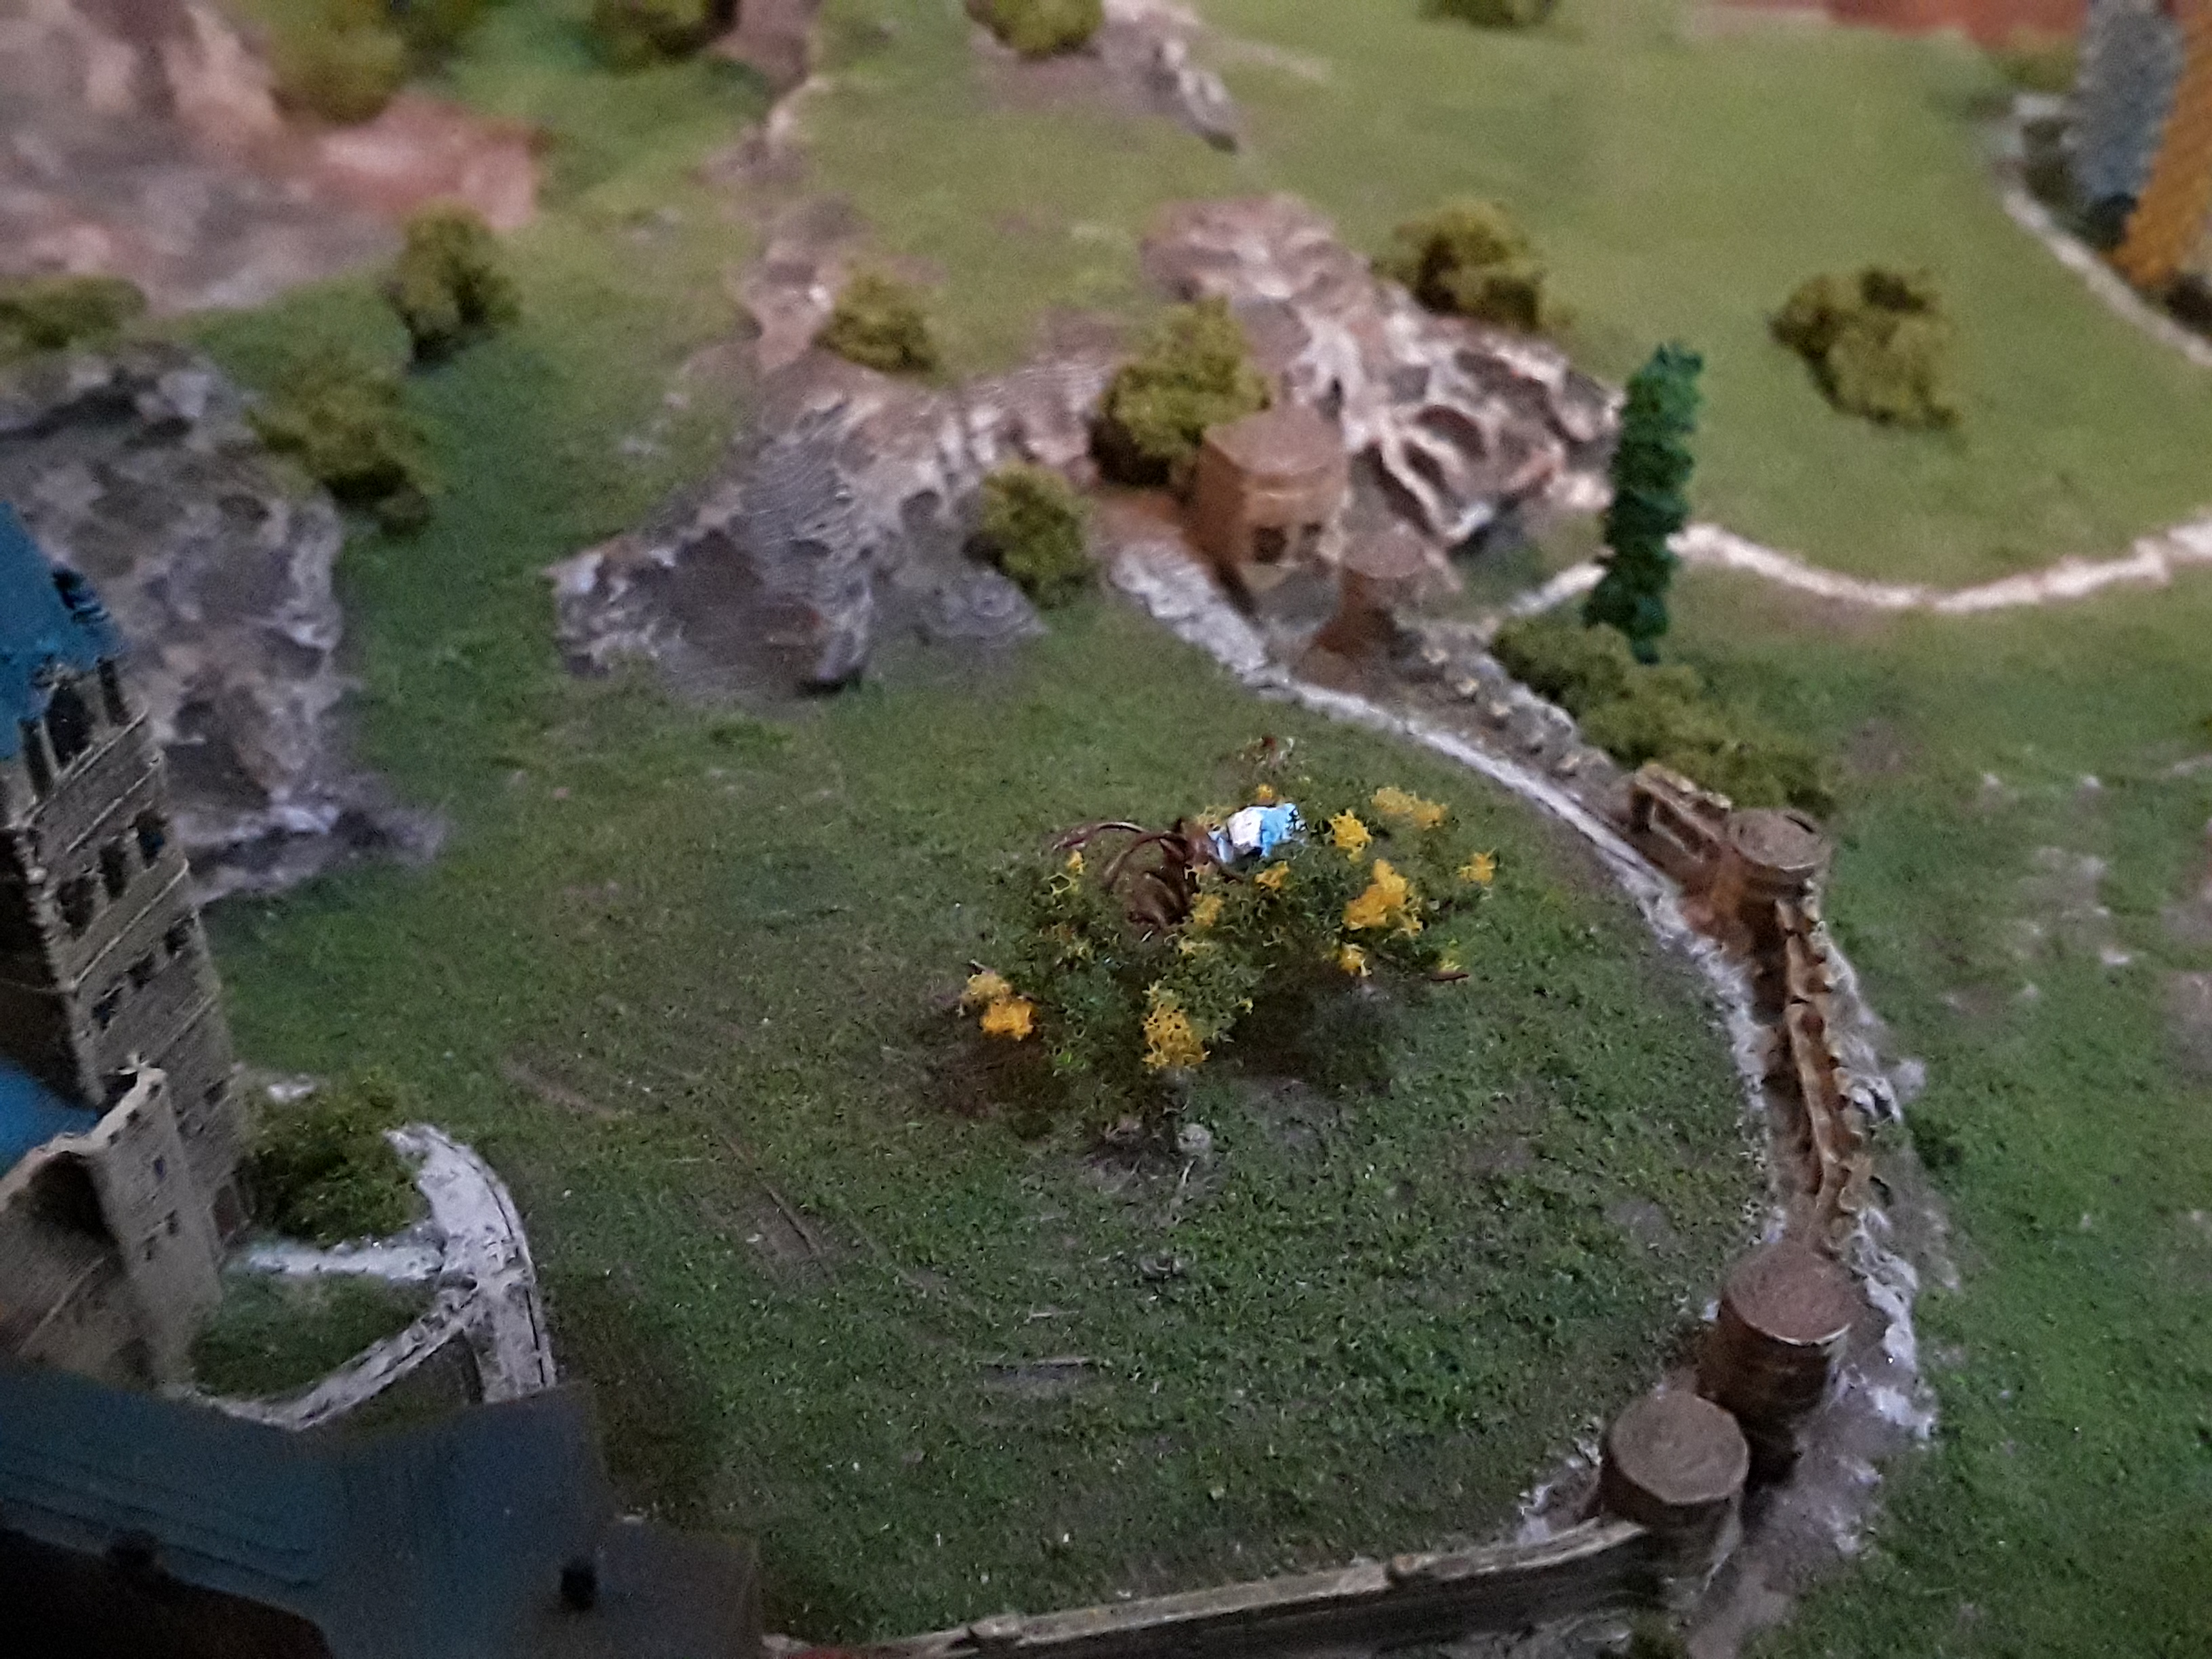
| The Whomping Willow in the courtyard location from the first two movies. |
 |
| Hagrid's Hut placed downhill from the standing stones where it was moved in the third film. |
 |
| Pumpkins growing (3rd movie) |
 |
| A bit of the closed in Dark Forest showing behind Hagrid's |
 |
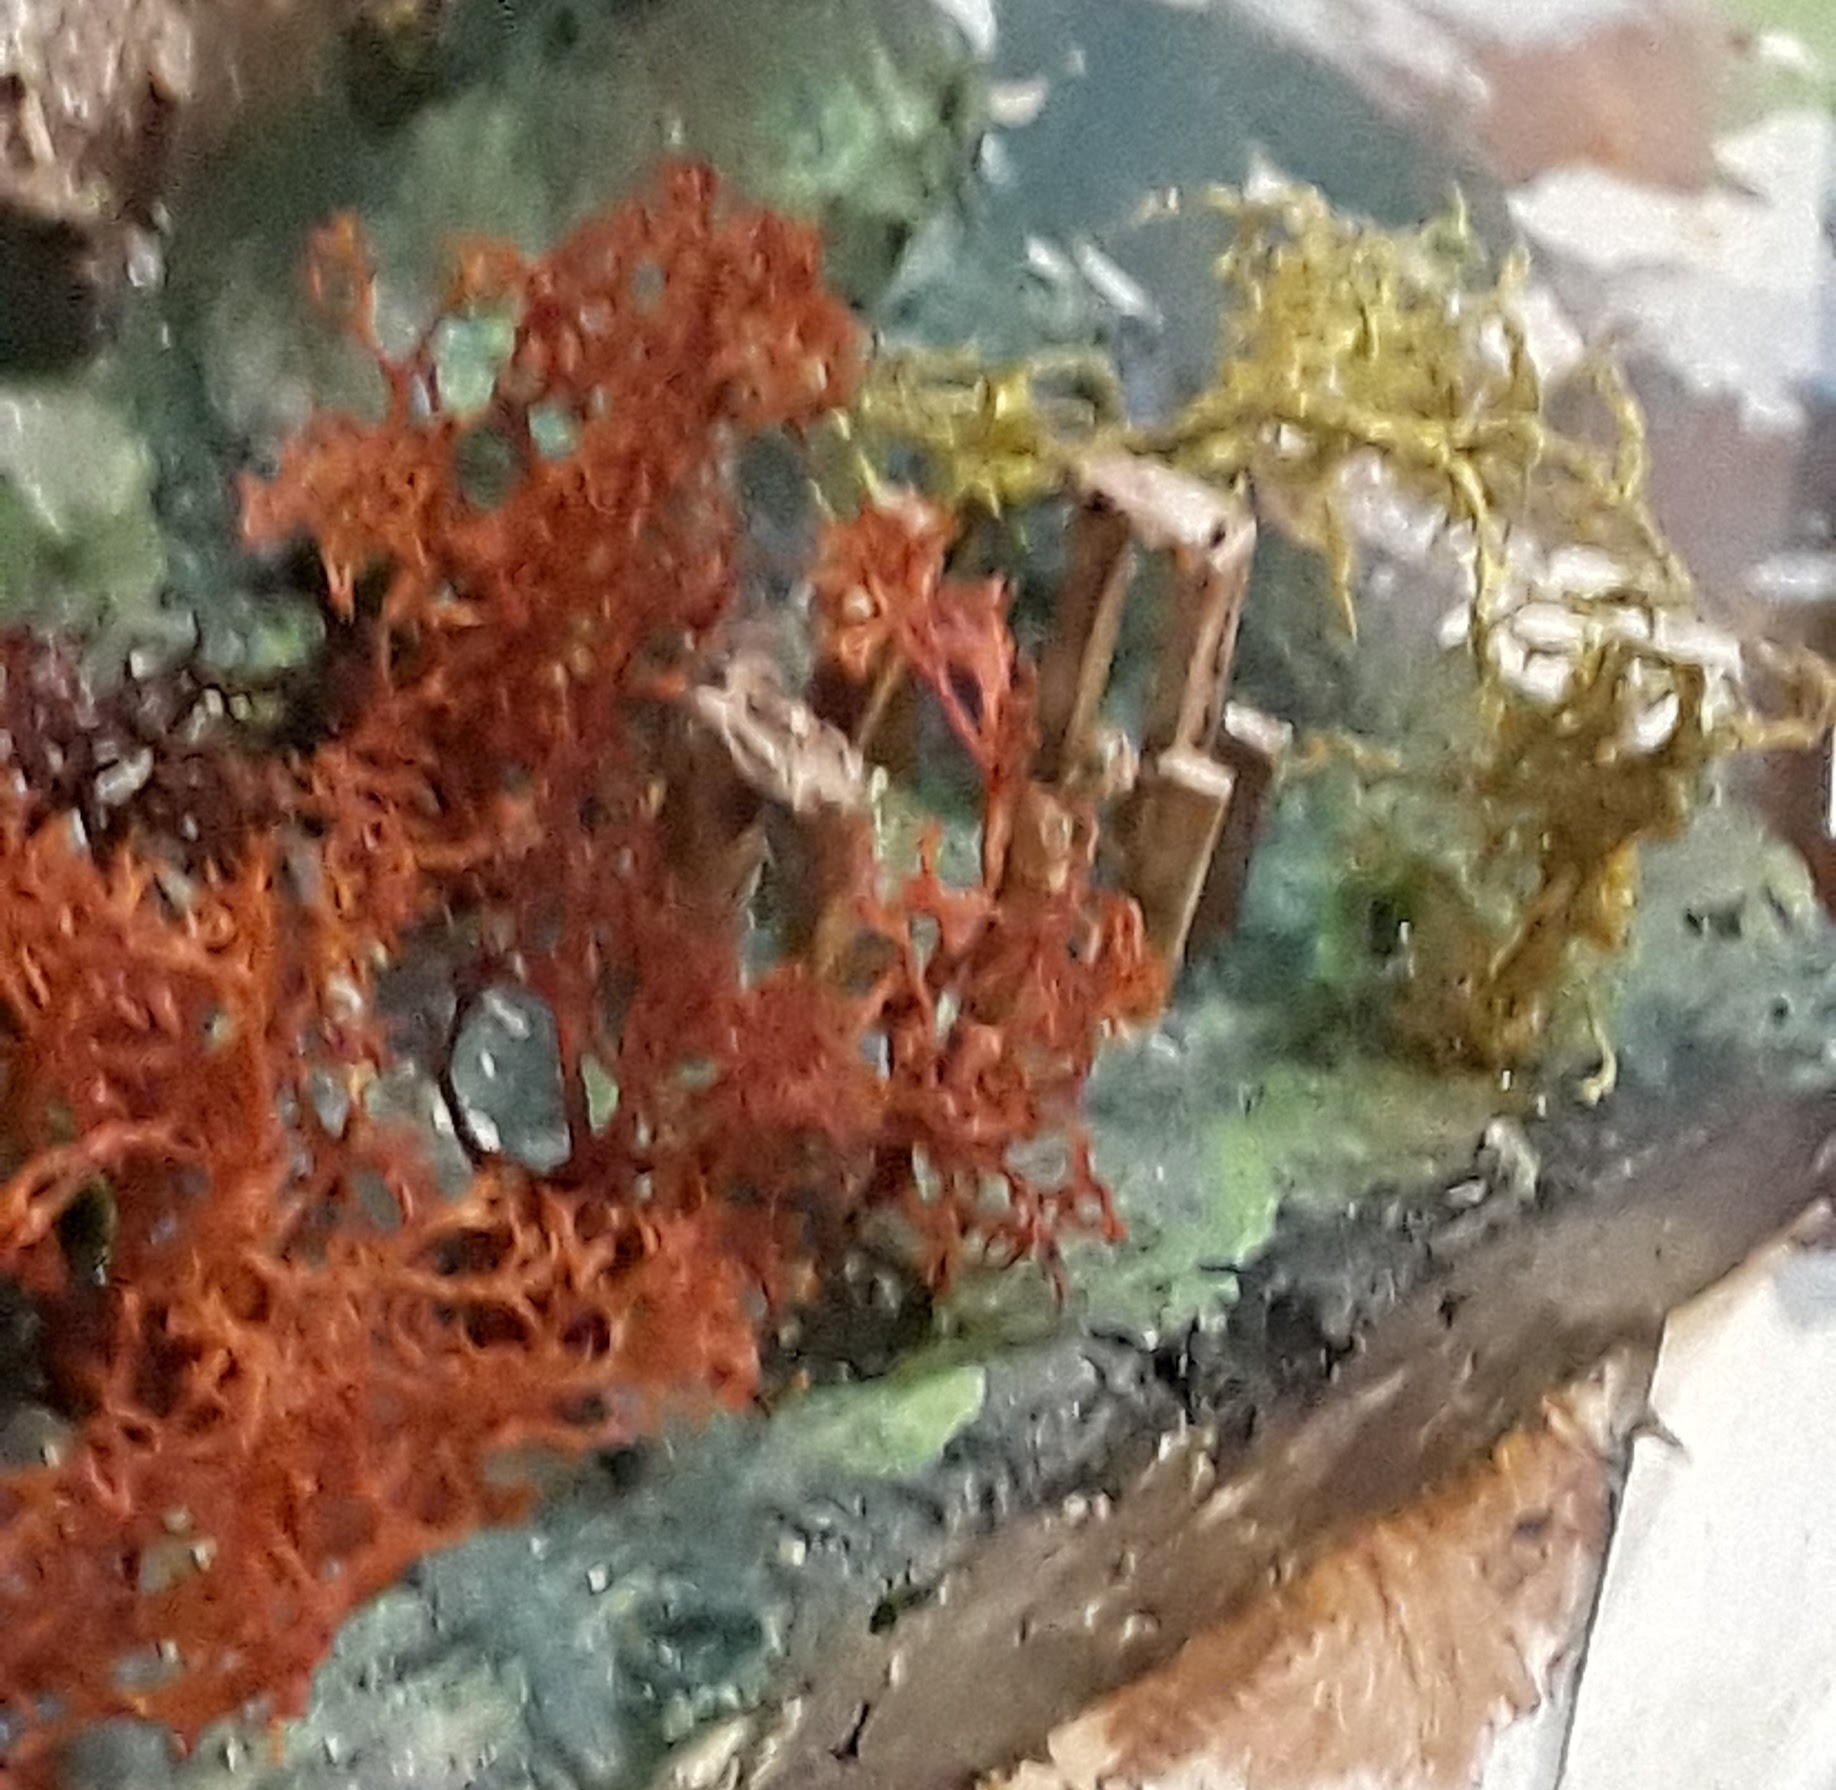
| The underwater ruins (from the 4th movie) |
 |
| Forming the giant squid from twisted wire |
 |
| The giant squid and three of the six Mer-people |
 |
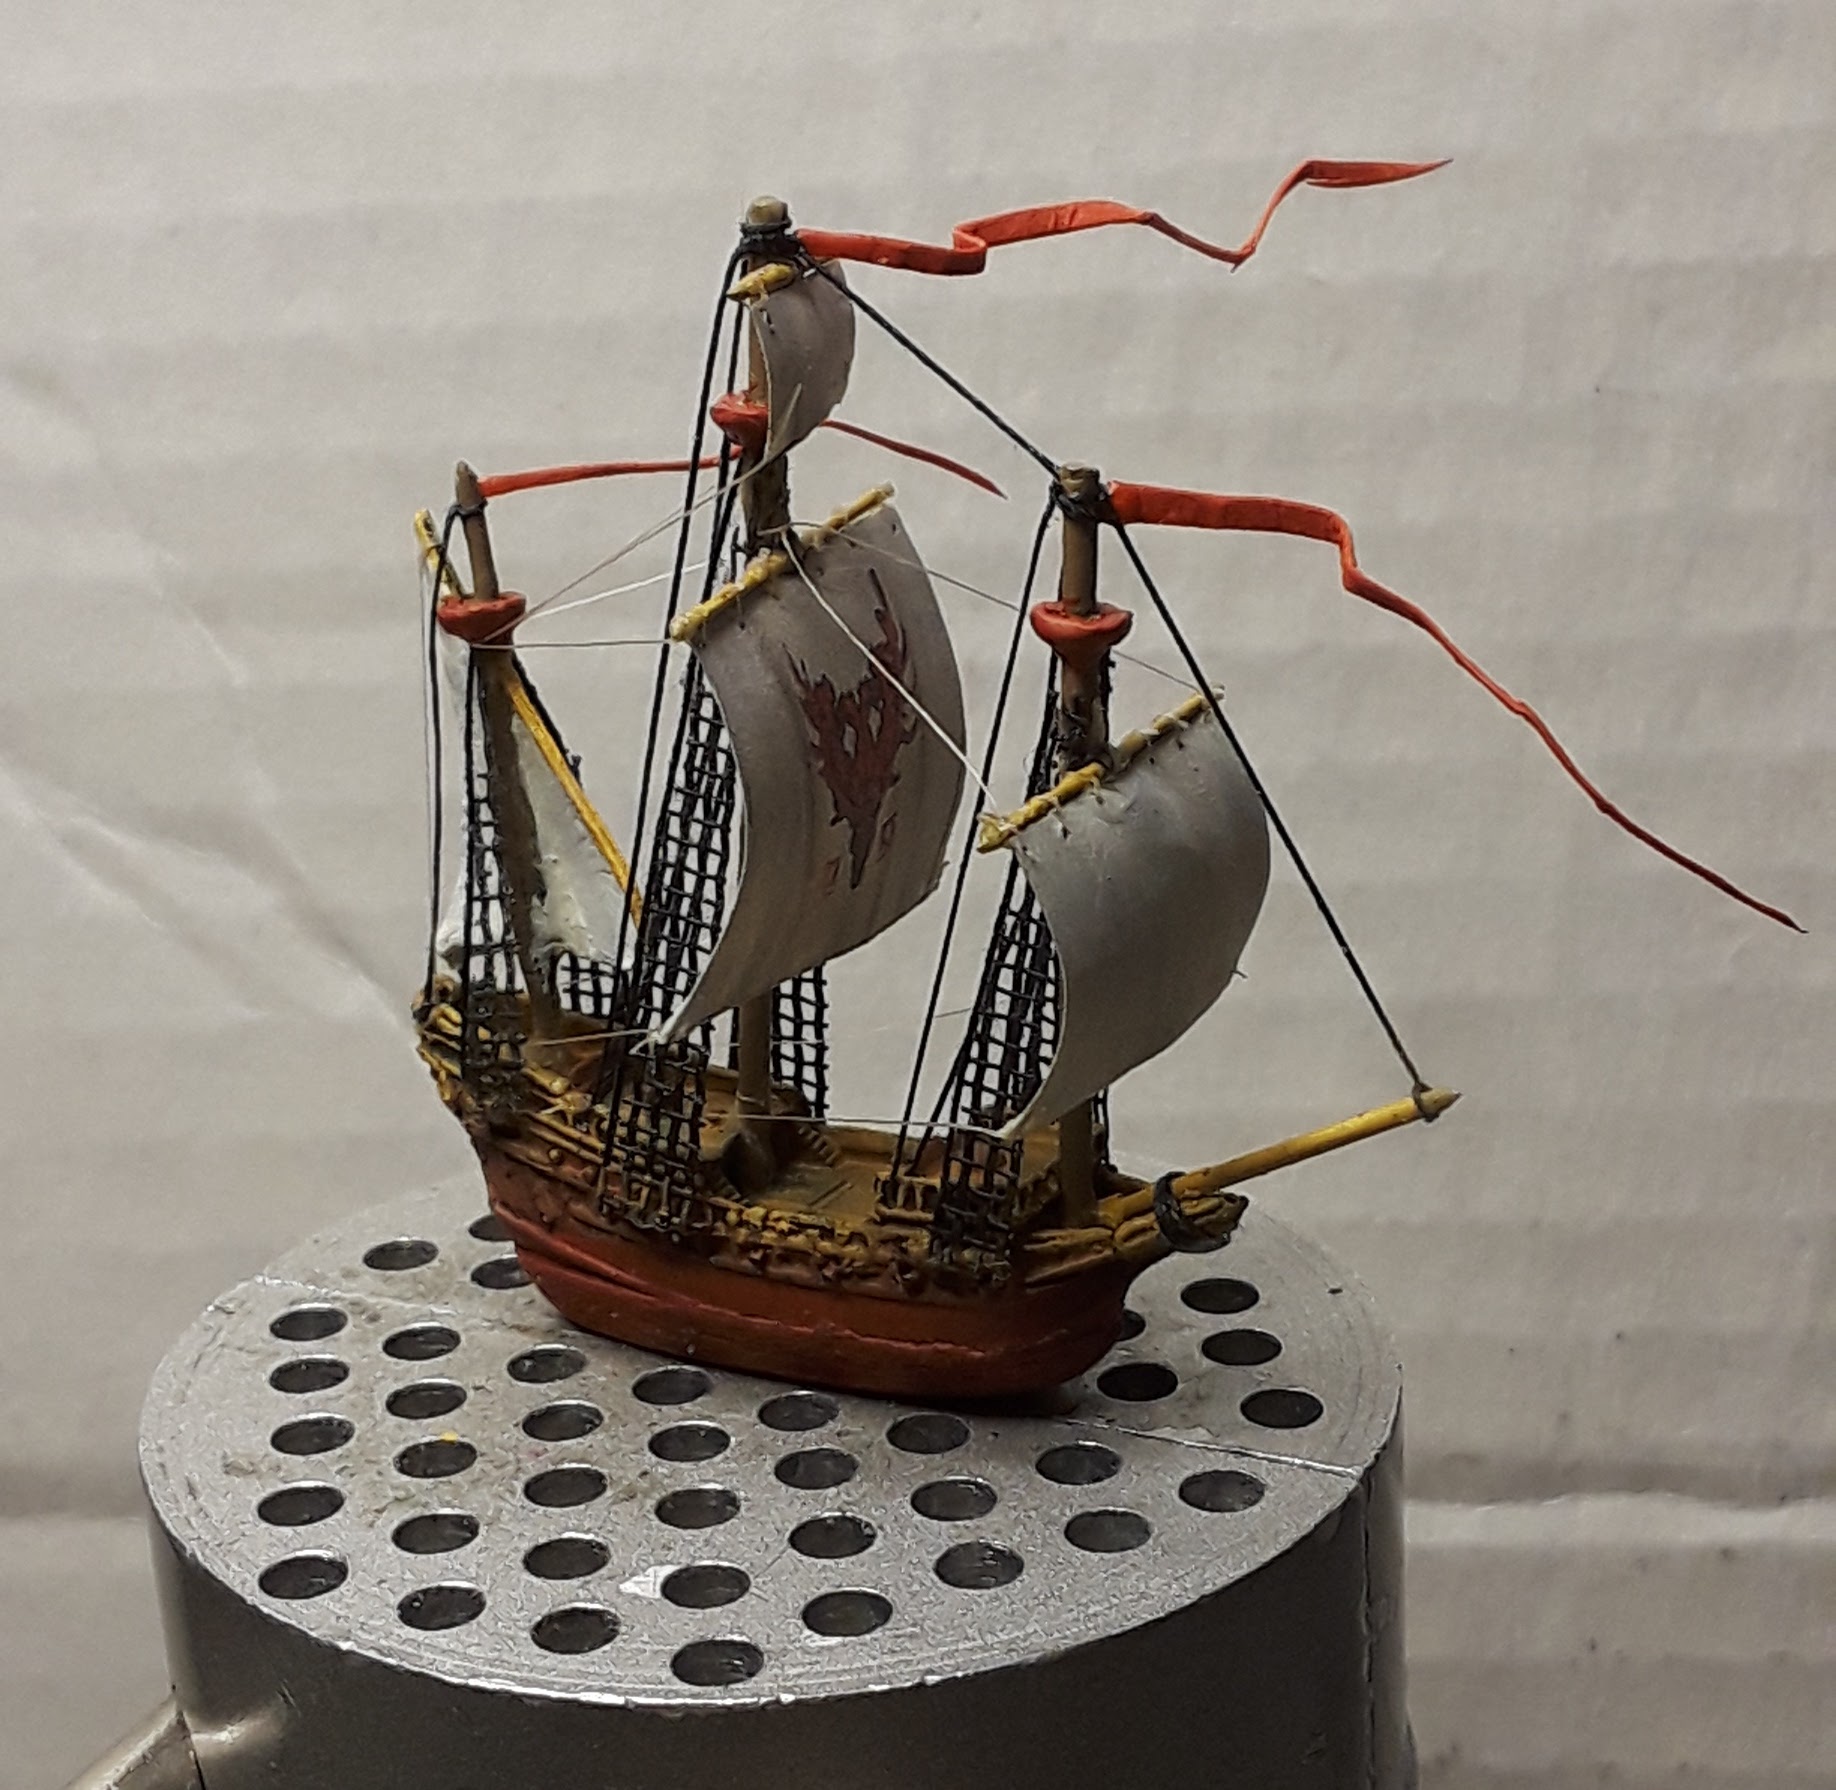
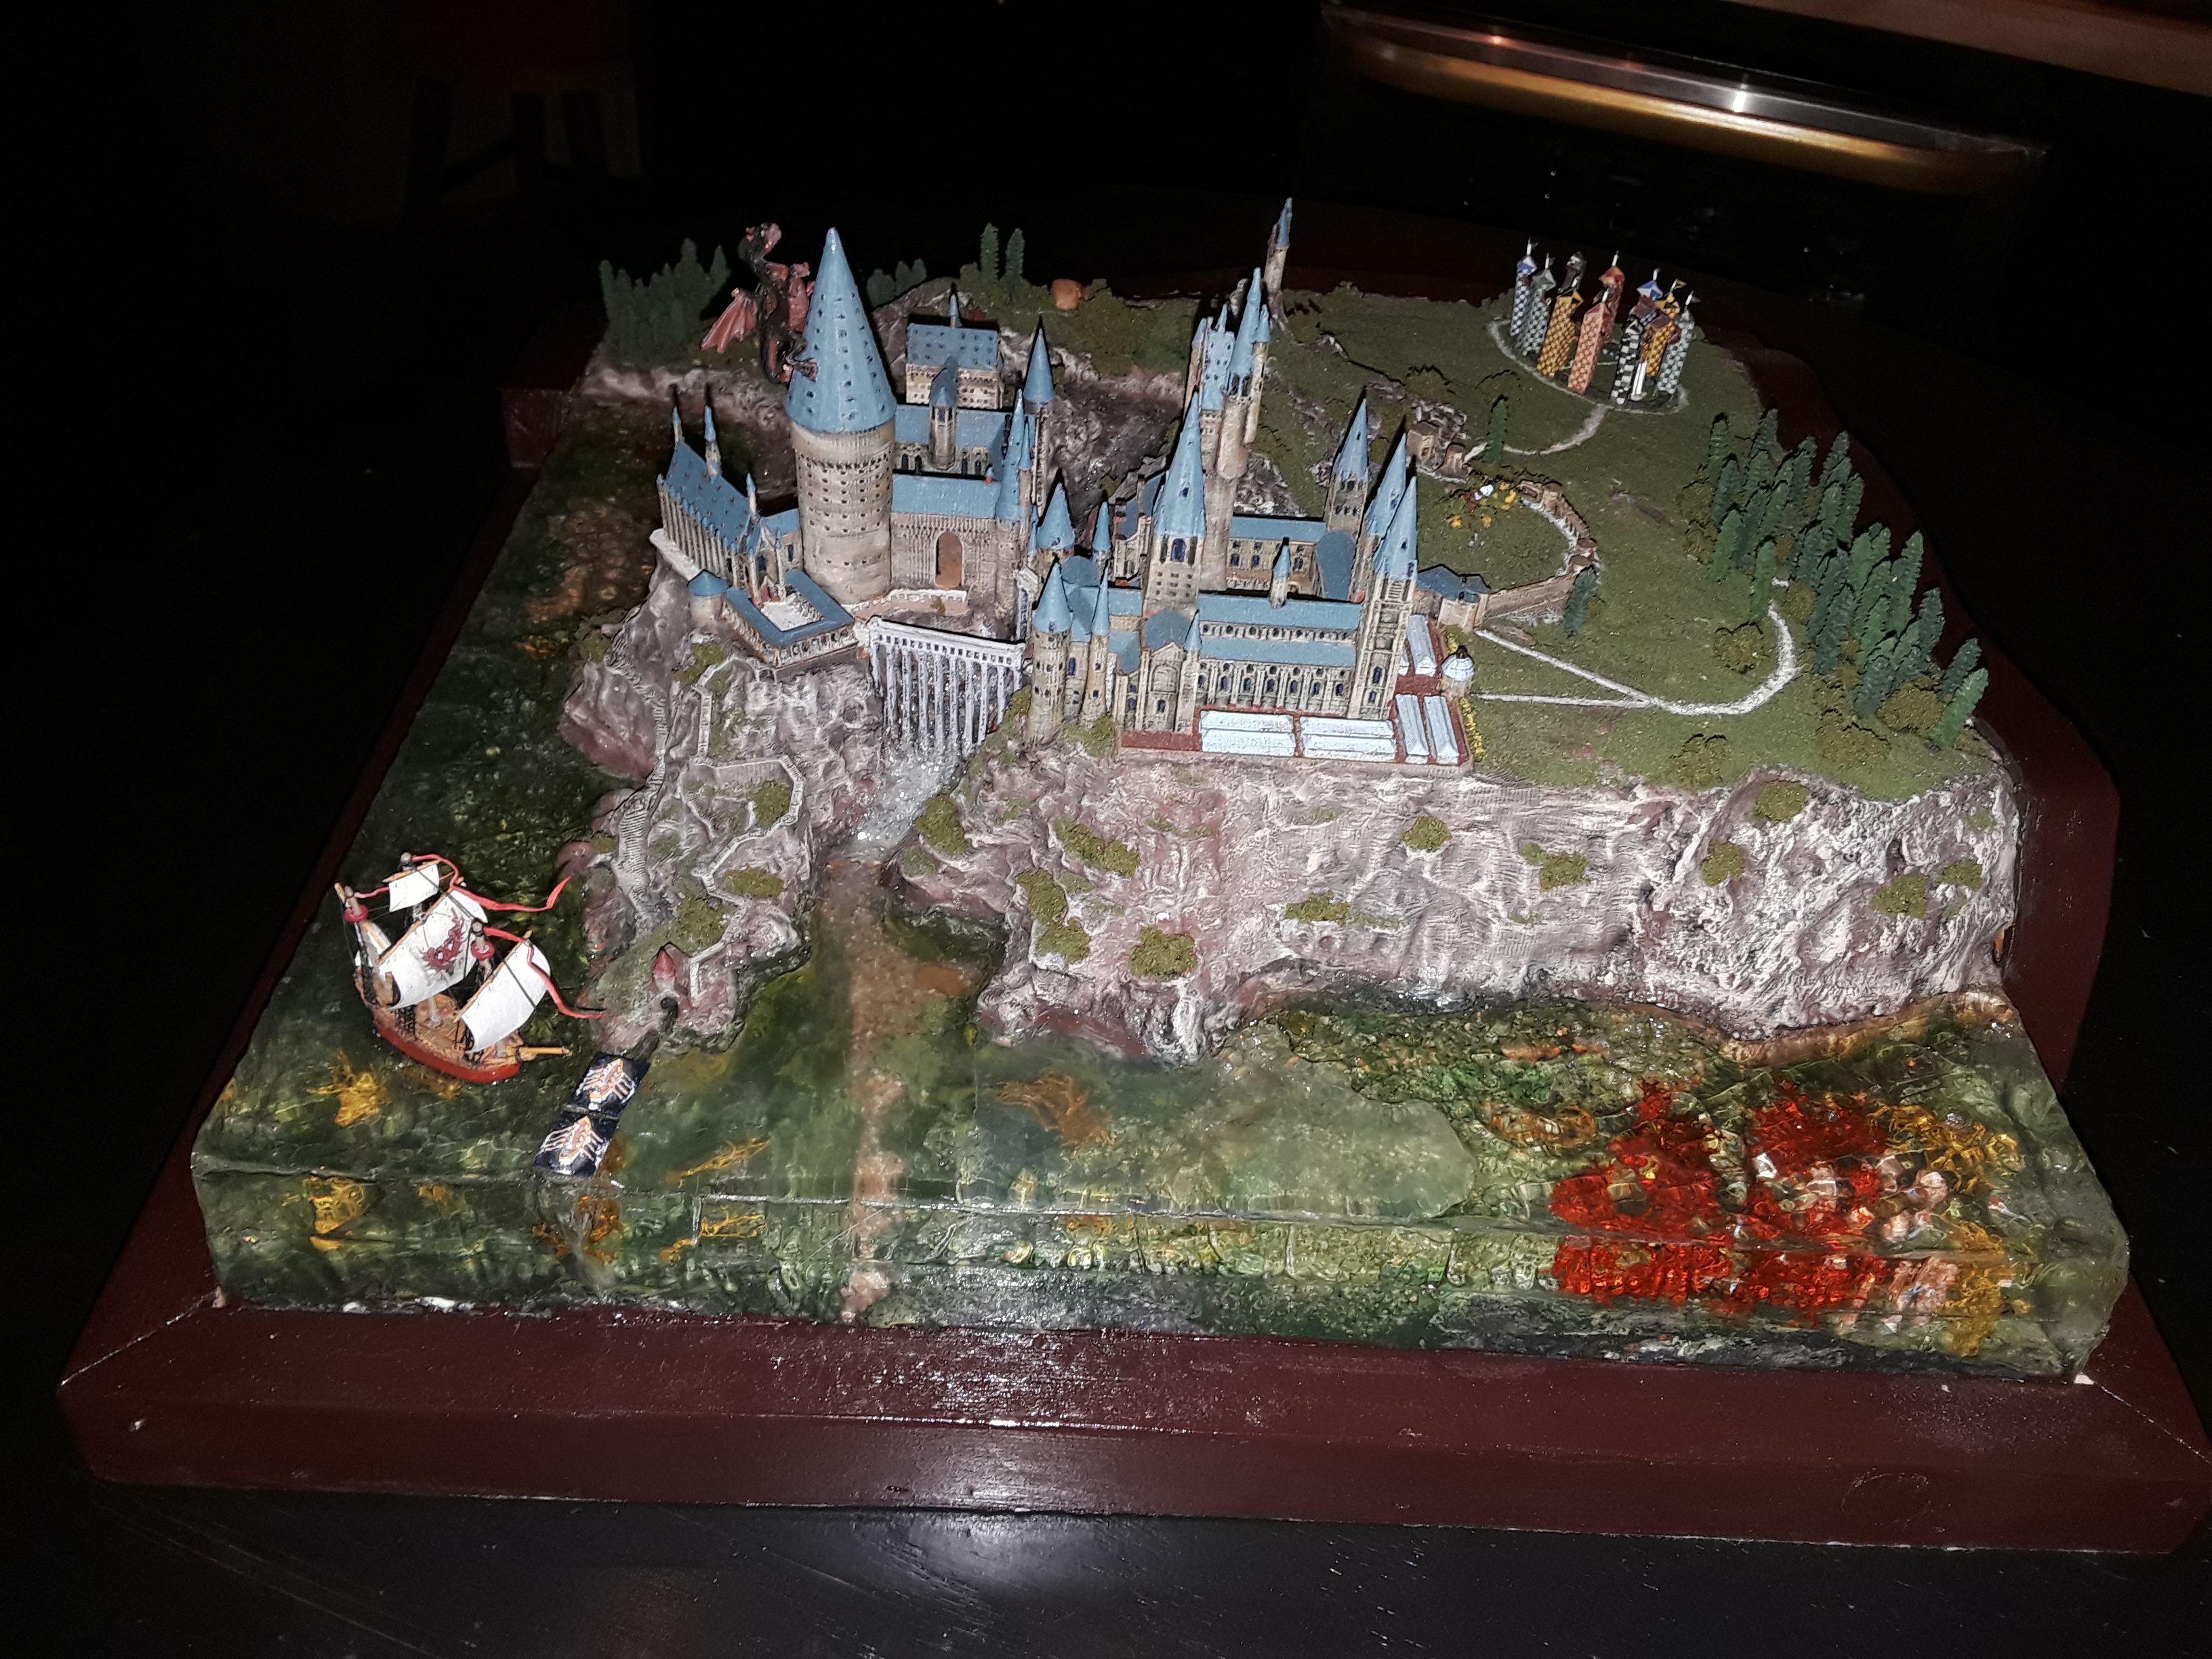
| The Durmstrang School ship |
 |
| Sculpting the tiny Weasley flying car from Super Sculpy |
 |
| My resin showed up |
 |
| There are five of the Mer-folk here among the ruins (Goblet of Fire). The camera just won't focus properly through the resin because of the reflective glare so the photo just doesn't come close to what the real thing looks like. |
 |
| The boats hiding the crack |
Other than the resin disaster, I had a lot of fun making this diorama. My girls like it and that's what counts. I may do some more of them, but smaller, maybe 1/2400 or 1/3000 scale.
This is as far as I got on the ship I was working on before this!