
So I received a box with two of the Ares French 3-Decker models Imperial 1803 / Republique Francaise 1802. I don't know if this ship was round one or two release for the game, but both had the foremast broken off at the base, something I understand is a problem with these plastic game pieces.


Examining one of these plastic ships for the first time I was struck by two things. First was how much like a child's toy it was compared to the metal 1/1200 ships I am used to. Second, on further study I realized this impression was solely due to the way Ares chose to mold the masts and sails. Cut them away and the hull is actually quite nice. I quickly came to the conclusion that my painting skills are not good enough to improve on the factory job done for the ship sides, or the decals used for the stern galleries. There are details I felt I could add however that would enhance the look of the ship. The following photos are before shots out of the box.


So the first order of business was to cut away the masts, sprit and flag pole. I decided to see if I could save the sails since the Langton 3-Decker sail set is obviously just too small for the 1/1000 scale. I cut the sails away from the masts. This was surprisingly easy. The plastic for these sails and masts is much softer than what the hull is made from, maybe that is why the masts break in the packages? I dressed the inside of the sails where the plastic was cut away with first course then fine sandpaper. Then I built the masts and new bow sprit. Next I attached them to the sails. I had left the fighting tops attached to the sails. This gave me a better anchor point for attaching the masts and I felt this would improve the sturdiness for lots of game play.


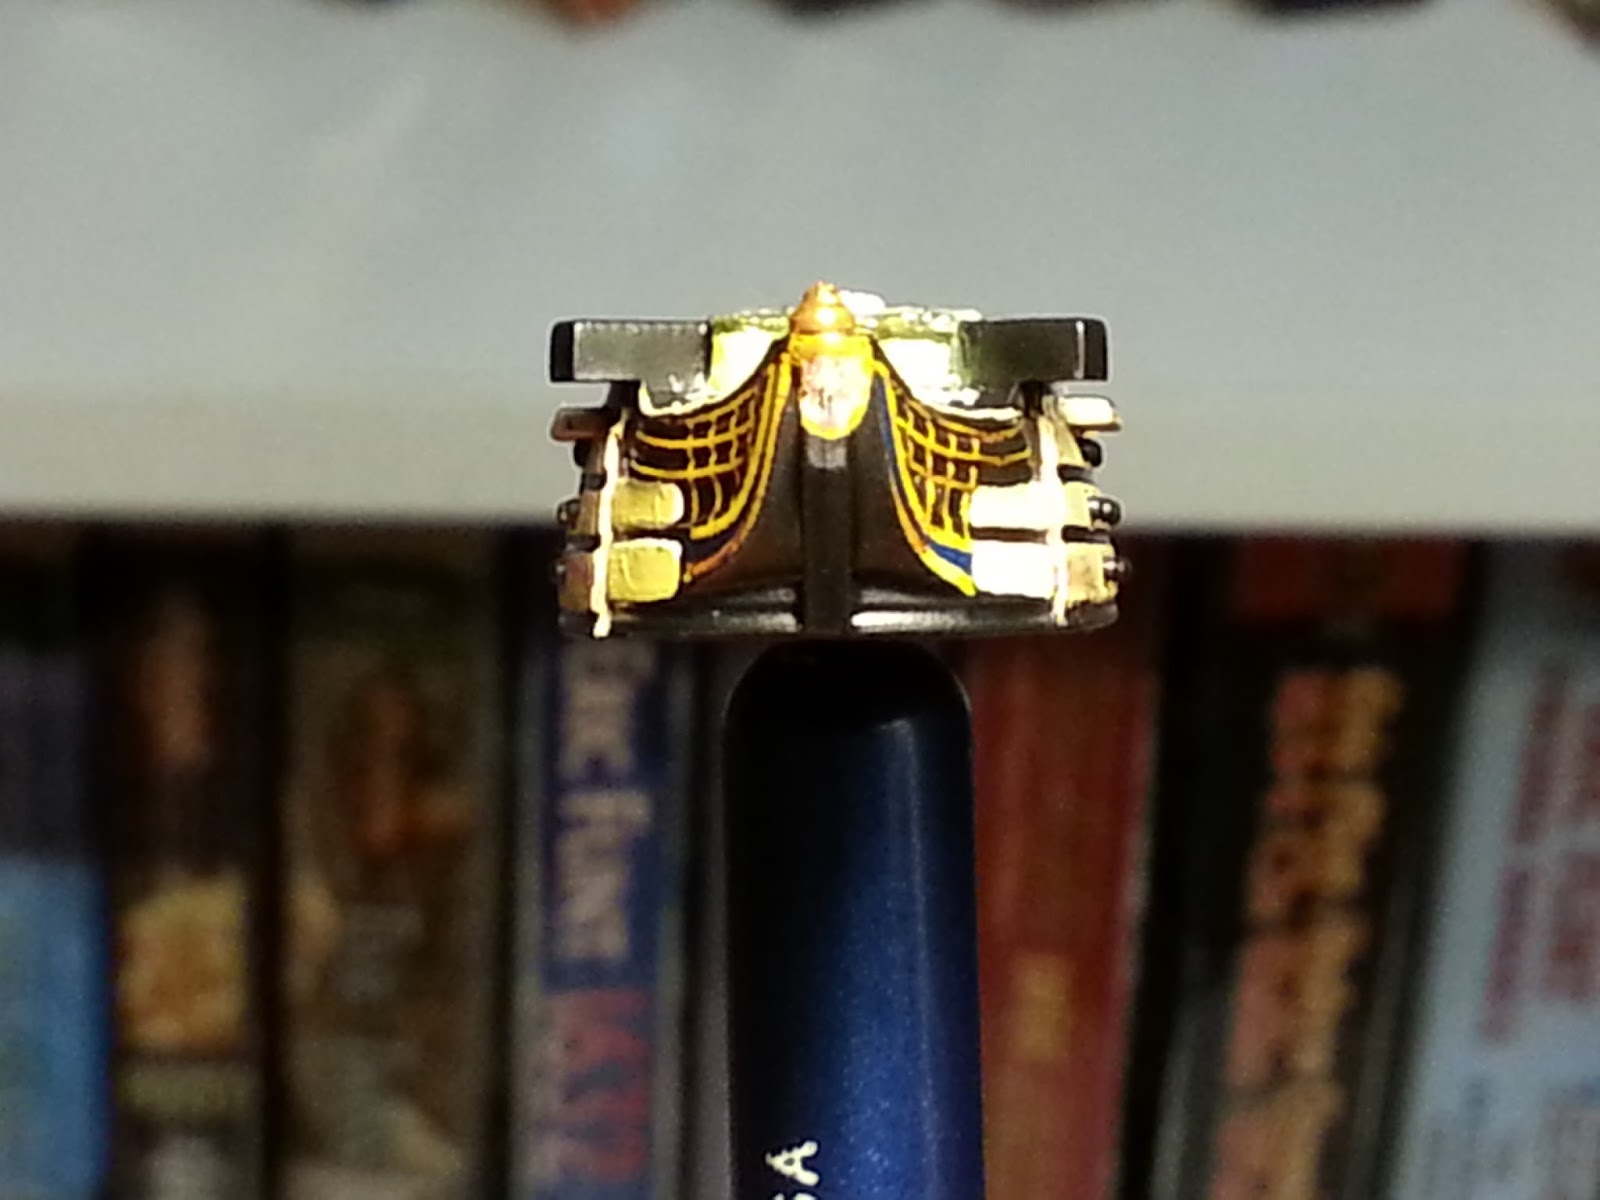
I added a little additional ochre color to the bow peak and two shades of gray to the outer bulwarks.


Next I drilled out the holes for the new masts.

While I was at it I decided to add another section to the bow sprit and another sprit sail for this large of a ship. Then I attached the masts and bow sprit.


Next I decided to make him an alternate sea base, in case he wants to use the ship with different rules, or just for display. I did it the way I do all my bases using acid free art Matt board and vinyl house Spackle. First cut the Matt board to fit the plastic game base. Then 2 coats of varnish on both sides and let dry. Spread the Spackle on and form the waves. Cut a piece of plastic from an old credit or club card to match the bottom of the hull. I did this by drilling a small hole for the peg attached to the bottom of the hull to fit through, then traced the hull out on the plastic with a fine tip marker. Then I cut it out with scissors. I had to make several trim corrections until it was an exact match to the hull. Then, before the Spackle is completely dry, I press the plastic down hard on the center of the base, pushing the vinyl out around it. This simulates the wake quite nicely.

Let completely dry. I take a Xacto knife and carefully trace around the plastic until I can remove it. I use white PVA now to glue the plastic hull silhouette back down to the base. When that's dry I paint the whole thing with Navy blue. After drying I dry brush in the wave direction with an aqua color, in this instance I used Anita's all purpose acrylic 11056 Ocean Blue. Last I dry brush against the waves with white and line the wake with white. After this is dry I cover the whole base with Americana Triple Thick Gloss Glaze. Any decoupage product will work. When completely dry the base is very hard and stiff. Last I drilled the hole in the center to fit the model to it and sea base to the plastic game base.


To ship it back to my friend I had to modify the original Ares packing a bit.


Before I package the ship up I thought I would take some comparison shots with some 1/1200 scale similarly rated ships of the line. The SOG Imperial is a 120 gun ship. The first two photos are of a Navwar 114 gun ship. This one is actually pretty close in size, especially if the base was raised like the Ares ship.


The next two are of a Langton 112 gun ship.


The last two are of a Davco 112 gun ship.


I still have the other one to do so any comments or suggestions are welcome. Thanks for looking.
2 comments:
Fantastic looking ship, a vast improvement on the original. All the extra effort was well worth it.
Great work! really inspiring, I start to play Sails of glory few days ago and I will to emprouve the ships, because I think they will be good models with some modifications
Post a Comment