My Workbench

Monday, August 31, 2015

Three Brigade Models Forts

With all of the fires burning in the Northwest the smoke here has been so bad that we have just had to stay indoors a lot. Which has been a great excuse to spend some time in the shop.

I ordered three of Brigade Models new European forts last Spring from Pico Armor along with several packs of guns. These models are excellent! Perfectly scaled for 1/1200 AOS model gaming. And they are resonably priced.

The first is Fort Boyer located on the West coast of France between the Ile-d'Aix and Ile-d'Oleron. Construction was started by Napoleon in 1801 and completed in 1857. The fort is 223 ft (68 meters) long, 102 ft (31 m) wide, and 66 ft (20 m) high. The project was suspended in 1809 and not resumed until 1837, so the fort was not in actual use during the Napoleonic wars. But what the heck? It looks cool and works for me.


Next up is Fort Louvois or Fort du Chapus. The fort was built between 1691 and 1694 during the reign of Louis XIV to protect the Rochefort Roads from the South. The area that the battery occupies is about 171 and 180 ft (52 and 55 meters). The firing platform is 39 ft (12 m) above the surface of the water, and the battery's lateral coverage is 180 degrees. The keep has five levels and is 79 ft (24 m) high. A causeway that is submerged at high tide joins the fort to the shore. In 1755 Fort Louvois saw modifications that were intended to keep pace with advances in weaponry. One result was the reduction in the number of embrasures for artillery to ten from the original sixteen. The battery lost its roof, and the fort also recived latrines on the walls. These were the last modifications to the fort. I have kept the original 16 cannon for the model.


The last is Fort Lupin also called Fort de la Charente, completed in 1689. The fort is located on the Southern bank of the Charente river, built on a rock midway between the river mouth and the first meander towards Rochefort. This position was advantageous, allowing the guns of  the fort to either enfilade the Charente against warships trying to enter the river or to fire on the rear of any vessels that passed the difficult entrance to the river. It crossed the fire with another fort built on the northern bank of the river, Fort de la Pointe. On the river side the fort's semi-circular battery measures 236 ft (72 meters) with 22 embrasures for guns 16 ft 4 inches (5 m) above the river at low tide.


I bought a pack of Eduard 1/700 scale Imperial Japanese Naval figures from Lots Of Models eBay store, painted them (sort of) like French and tried them out here.
Added a few more plus a formation of Irregular 2mm troops.


I was thinking of using these Eduard figures for ship crews.


Monday, July 6, 2015

Scratch Built 1/1200 Third Rate 80 Gun Ship of the Line Tonnant

It has been a while since I posted anything. Spring came early and the Honey Doos sort of put a halt to the work in the shipyard.  But the recent record high temperatures in the Northwest and the fact I caught another cold has allowed me to spend some time for my current passion, Napoleonic ships.

After my last endeavor to scratch build the 50 gun Leopard I wanted to try another ship to see if I could improve the process at all. I found the mother load site for original ship plans at http://collections.rmg.co.uk/collections.html. One of the sets I downloaded was for the 80 gun French built ship of the line Tonnant.

Tonnant Class Sane-Border design of 1787, she was launched at Toulon between 1791-92. Tonnant was one of the 18 ships of the line left in French hands when Toulon was abondoned by the British in 1793. She was captured by the British August 1st, 1798 at the Nile. She lay eighth in line directly astern of de Bruey's flagship the 120-gun Orient. Tonnant's armament at capture was as follows:

Lower gun deck: 30 iron long 36 pounders, and two brass long 36 pounders.
Upper gun deck: 32 iron long 24 pounders, and two brass long 24 pounders.
Quarter deck: 12 iron long 12 pounders, 2 brass long 12 pounders.
Forecastle: 6 brass long 12 pounders'
Poop: 6 brass 36 pound carronades.
Total: 92 guns
Broadside: 46
Broadside weight: 1,212 pounds (James says 1,287 pounds)

Tonnant was 194 ft 6 ins long on the gun deck, 51 ft 9 1/4 ins at the beam. Depth of hold was 23 ft 3 ins, and 2281 tons burthen. Her complement was 700 men and boys.

As with the Leopard, I first scaled the plans to 1/1200 (194' 6" = 2 1/8").
After printing them out I glued the deck plans to 1/16" balsa sheet, then cut them out with a sharp Xacto blade.


Next I glued the decks together, one on top of the other. A little sanding to smooth the edges was quite easy with the soft wood.
Using the ship profile, I traced the stern quarter galleries onto the 1/16" balsa and cut the starboard and port galleries out, then glued them to the stern quarters of the hull. Sorry I didn't take pictures of this. I did not do this for the Leopard.
I then cut out the left and right ship profiles and glued them to the hull sides, starting at the extreme stern and joining at the prow peak. 
I glued the stern gallery plan to a piece of 1/8" balsa and cut it out. I used a dental tool to press in the windows and other stern details on the plan. Then I glued it to the stern. Next I cut strips from heavy bond paper and use the Xacto blade to snip port hatch covers to glue to the hull at the ports indicated on the profile plans.


To seal and stiffen the soft paper, I applied a coat of Americana Triple Thick Gloss Glaze. This dries very hard and is paintable. 
Next I used bits of card, balsa and plastic credit card to make the deck furniture and gun carriages.

At this point, after comparing the height to one of my Langton 80 gun ships, I decided to add the orlop deck to the bottom to lift the ship.
A view of the stern with the orlop:
For lanterns I cut 3 small bits of thin gauge insulated wire. I cut half of the insulation away then slid the bit that was left down just enough to show the wire. I stuck the other end of the wire into the soft balsa stern gallery. 
Next was the first coats of paint.


Then I made the base like I usually do out of acid free matt board and vinyl spackle. Painted with navy blue and dry brushed with sea blue-green.
Now I started working on the masts and sails.
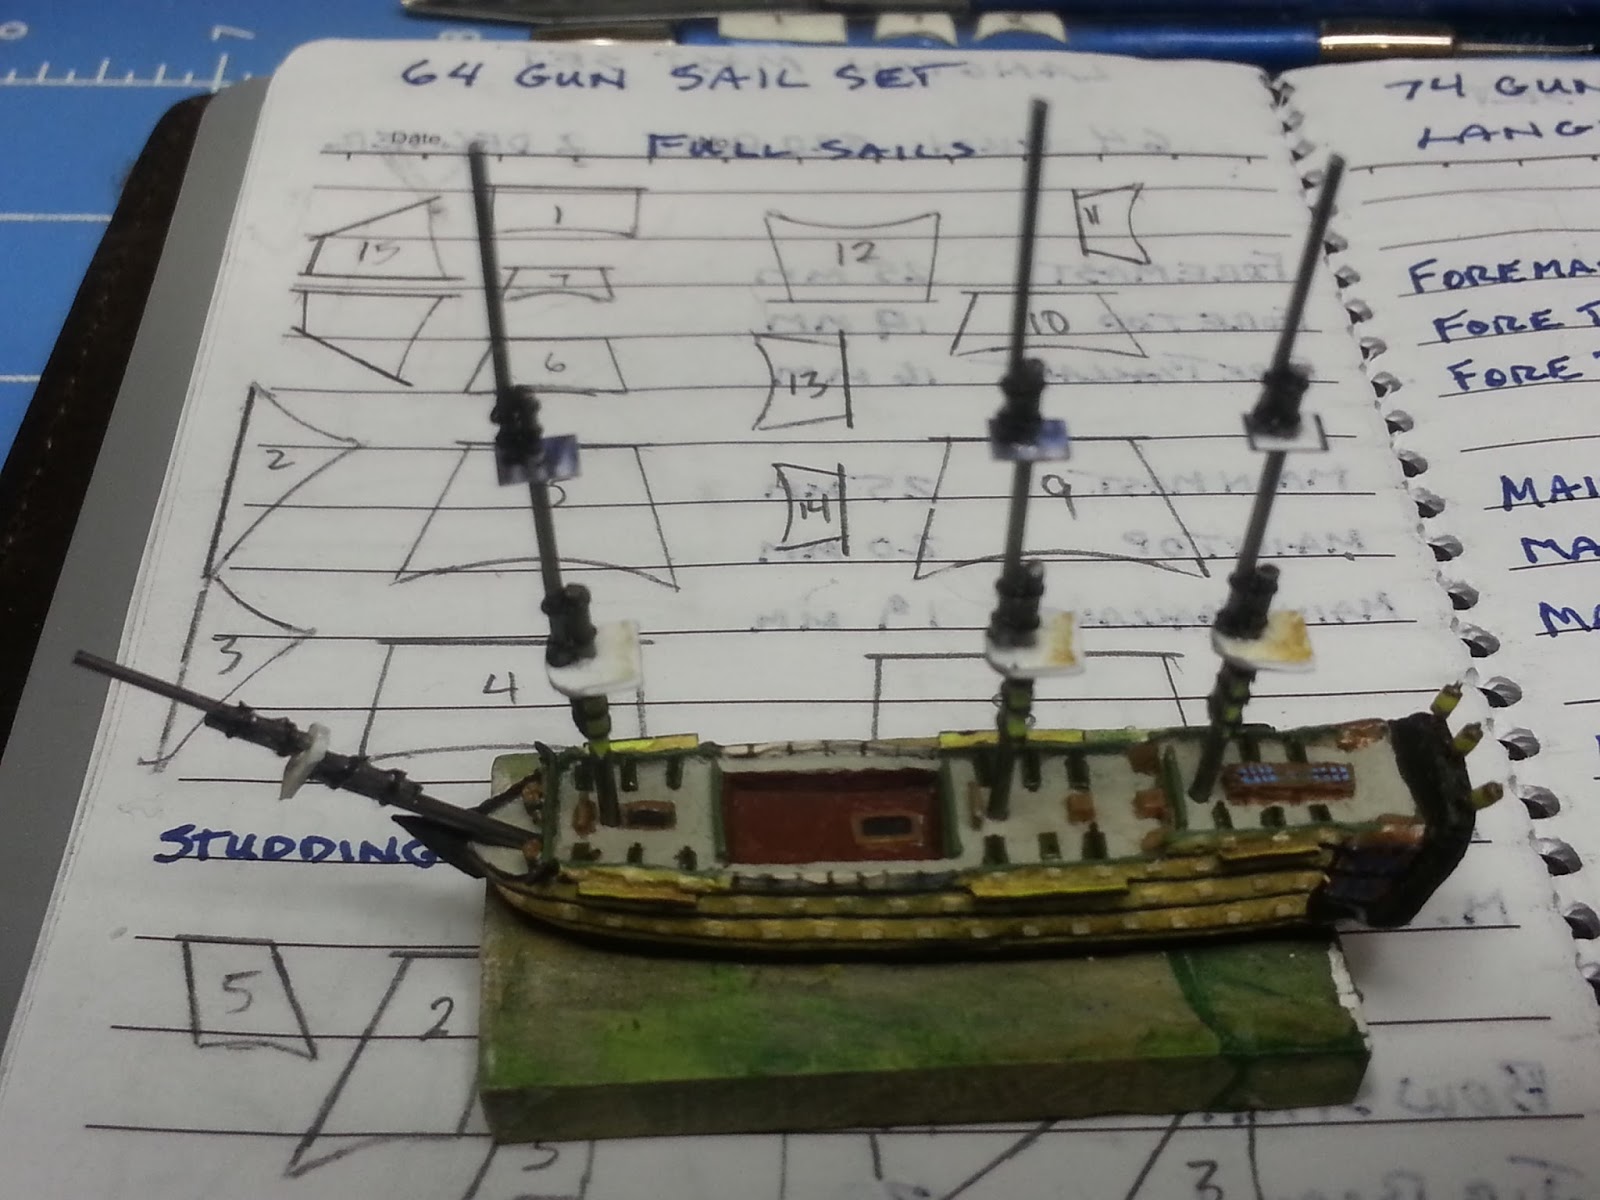
 Fitting them to the hull after assembly.
 Shaping the sails.

 Adding the spars and details.
I start from the stern installing the mizzen mast and sails, one at a time, attaching the buntlines and leechlines that help hold the sails to the mast.


The standard rigging is next.

 Last, the running rigging and mount to the base.
And the finished ship:


 Langton 74 gun Spanish on the left.
 GHQ 74 gun common on the left.