My Workbench

Monday, July 6, 2015

Scratch Built 1/1200 Third Rate 80 Gun Ship of the Line Tonnant

It has been a while since I posted anything. Spring came early and the Honey Doos sort of put a halt to the work in the shipyard.  But the recent record high temperatures in the Northwest and the fact I caught another cold has allowed me to spend some time for my current passion, Napoleonic ships.

After my last endeavor to scratch build the 50 gun Leopard I wanted to try another ship to see if I could improve the process at all. I found the mother load site for original ship plans at http://collections.rmg.co.uk/collections.html. One of the sets I downloaded was for the 80 gun French built ship of the line Tonnant.

Tonnant Class Sane-Border design of 1787, she was launched at Toulon between 1791-92. Tonnant was one of the 18 ships of the line left in French hands when Toulon was abondoned by the British in 1793. She was captured by the British August 1st, 1798 at the Nile. She lay eighth in line directly astern of de Bruey's flagship the 120-gun Orient. Tonnant's armament at capture was as follows:

Lower gun deck: 30 iron long 36 pounders, and two brass long 36 pounders.
Upper gun deck: 32 iron long 24 pounders, and two brass long 24 pounders.
Quarter deck: 12 iron long 12 pounders, 2 brass long 12 pounders.
Forecastle: 6 brass long 12 pounders'
Poop: 6 brass 36 pound carronades.
Total: 92 guns
Broadside: 46
Broadside weight: 1,212 pounds (James says 1,287 pounds)

Tonnant was 194 ft 6 ins long on the gun deck, 51 ft 9 1/4 ins at the beam. Depth of hold was 23 ft 3 ins, and 2281 tons burthen. Her complement was 700 men and boys.

As with the Leopard, I first scaled the plans to 1/1200 (194' 6" = 2 1/8").
After printing them out I glued the deck plans to 1/16" balsa sheet, then cut them out with a sharp Xacto blade.


Next I glued the decks together, one on top of the other. A little sanding to smooth the edges was quite easy with the soft wood.
Using the ship profile, I traced the stern quarter galleries onto the 1/16" balsa and cut the starboard and port galleries out, then glued them to the stern quarters of the hull. Sorry I didn't take pictures of this. I did not do this for the Leopard.
I then cut out the left and right ship profiles and glued them to the hull sides, starting at the extreme stern and joining at the prow peak. 
I glued the stern gallery plan to a piece of 1/8" balsa and cut it out. I used a dental tool to press in the windows and other stern details on the plan. Then I glued it to the stern. Next I cut strips from heavy bond paper and use the Xacto blade to snip port hatch covers to glue to the hull at the ports indicated on the profile plans.


To seal and stiffen the soft paper, I applied a coat of Americana Triple Thick Gloss Glaze. This dries very hard and is paintable. 
Next I used bits of card, balsa and plastic credit card to make the deck furniture and gun carriages.

At this point, after comparing the height to one of my Langton 80 gun ships, I decided to add the orlop deck to the bottom to lift the ship.
A view of the stern with the orlop:
For lanterns I cut 3 small bits of thin gauge insulated wire. I cut half of the insulation away then slid the bit that was left down just enough to show the wire. I stuck the other end of the wire into the soft balsa stern gallery. 
Next was the first coats of paint.


Then I made the base like I usually do out of acid free matt board and vinyl spackle. Painted with navy blue and dry brushed with sea blue-green.
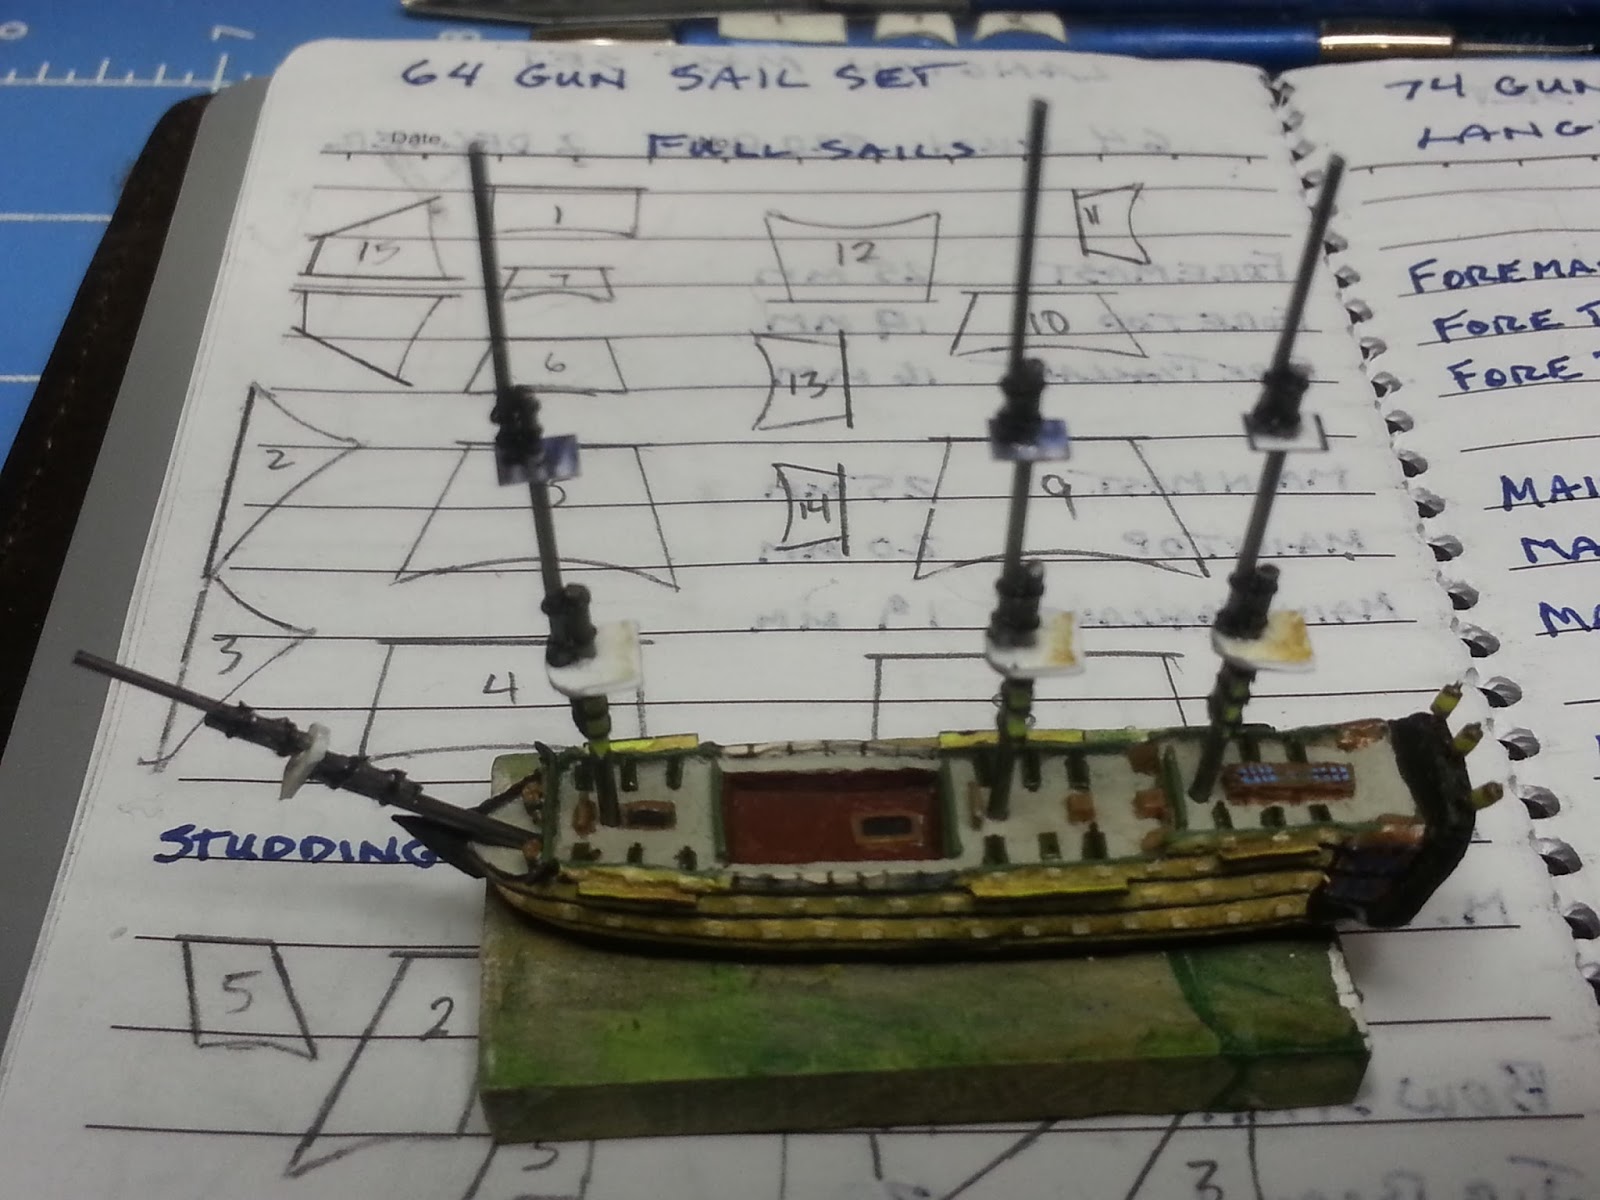
Now I started working on the masts and sails.
 Fitting them to the hull after assembly.
 Shaping the sails.

 Adding the spars and details.
I start from the stern installing the mizzen mast and sails, one at a time, attaching the buntlines and leechlines that help hold the sails to the mast.


The standard rigging is next.

 Last, the running rigging and mount to the base.
And the finished ship:


 Langton 74 gun Spanish on the left.
 GHQ 74 gun common on the left.


Friday, April 10, 2015

Scratch Built 50 Gun Ship HMS Leopard


Over a year ago there was a gentleman posting on the Sails of Glory Anchorage site a scratch build of the "Horrible Old Leopard" 50 gun ship. He only got so far and never finished. I was very intrigued and very disappointed as I really wanted to see how it turned out.

I have been thinking about it ever since and decided to try it myself. I bought the book "The 50-Gun Ship" by Rif Winfield that includes plans for several 50 gun ships including the Leopard.


So the first thing I did was take photos of the deck plans and side profile then I started a Microsoft Word file and added the photos. Re-sizing them to 1/1200 scale was not easy. I printed out several sheets too big or too small until I finally got it right. Having GHQ and Langton unbuilt 50 gun hulls for comparison helped. Once I got it right, I went ahead and added some plans I pulled off the internet for Ville de Paris and Bellona as well.


Next I cut out the decks and glued them to 1/16" balsa sheet. An Xacto knife made easy work of cutting out the wooden decks. Then the deck sections were glued together: orlop, lower and upper gun decks, quarter deck, forecastle, poop.


A quick comparison with the GHQ 50 gun hull

A file and some fine sandpaper smoothed the sides for the next step. I carefully cut out two side profiles and glued them to the sides, being careful to leave just enough rail above the decks, joining the stems together at the front of the ship. I cut strips of drawing paper and then chopped them into hatch squares and glued them in place on the hull.


The stern detail was transferred to another piece of balsa using carbon paper. The stern was cut out and glued on. 


The detail was carefully trimmed out with dental tools and hatches made of drawing paper added.

I coated the entire model with Triple Thick Glaze. This dries rock hard and stiffened up the paper bulwarks and stem.

Bits of old credit card were cut for the deck furniture, bulkheads and shroud chains. Some fine mesh was added for the deck grate. Small bits of balsa were shaped for the stairs. Cannon are made with bits of .016 music wire on thin card carriages.


Then came the painting.


Next I worked on the masts. Old credit cards never go to waste in my shipyard. They make great fighting tops.


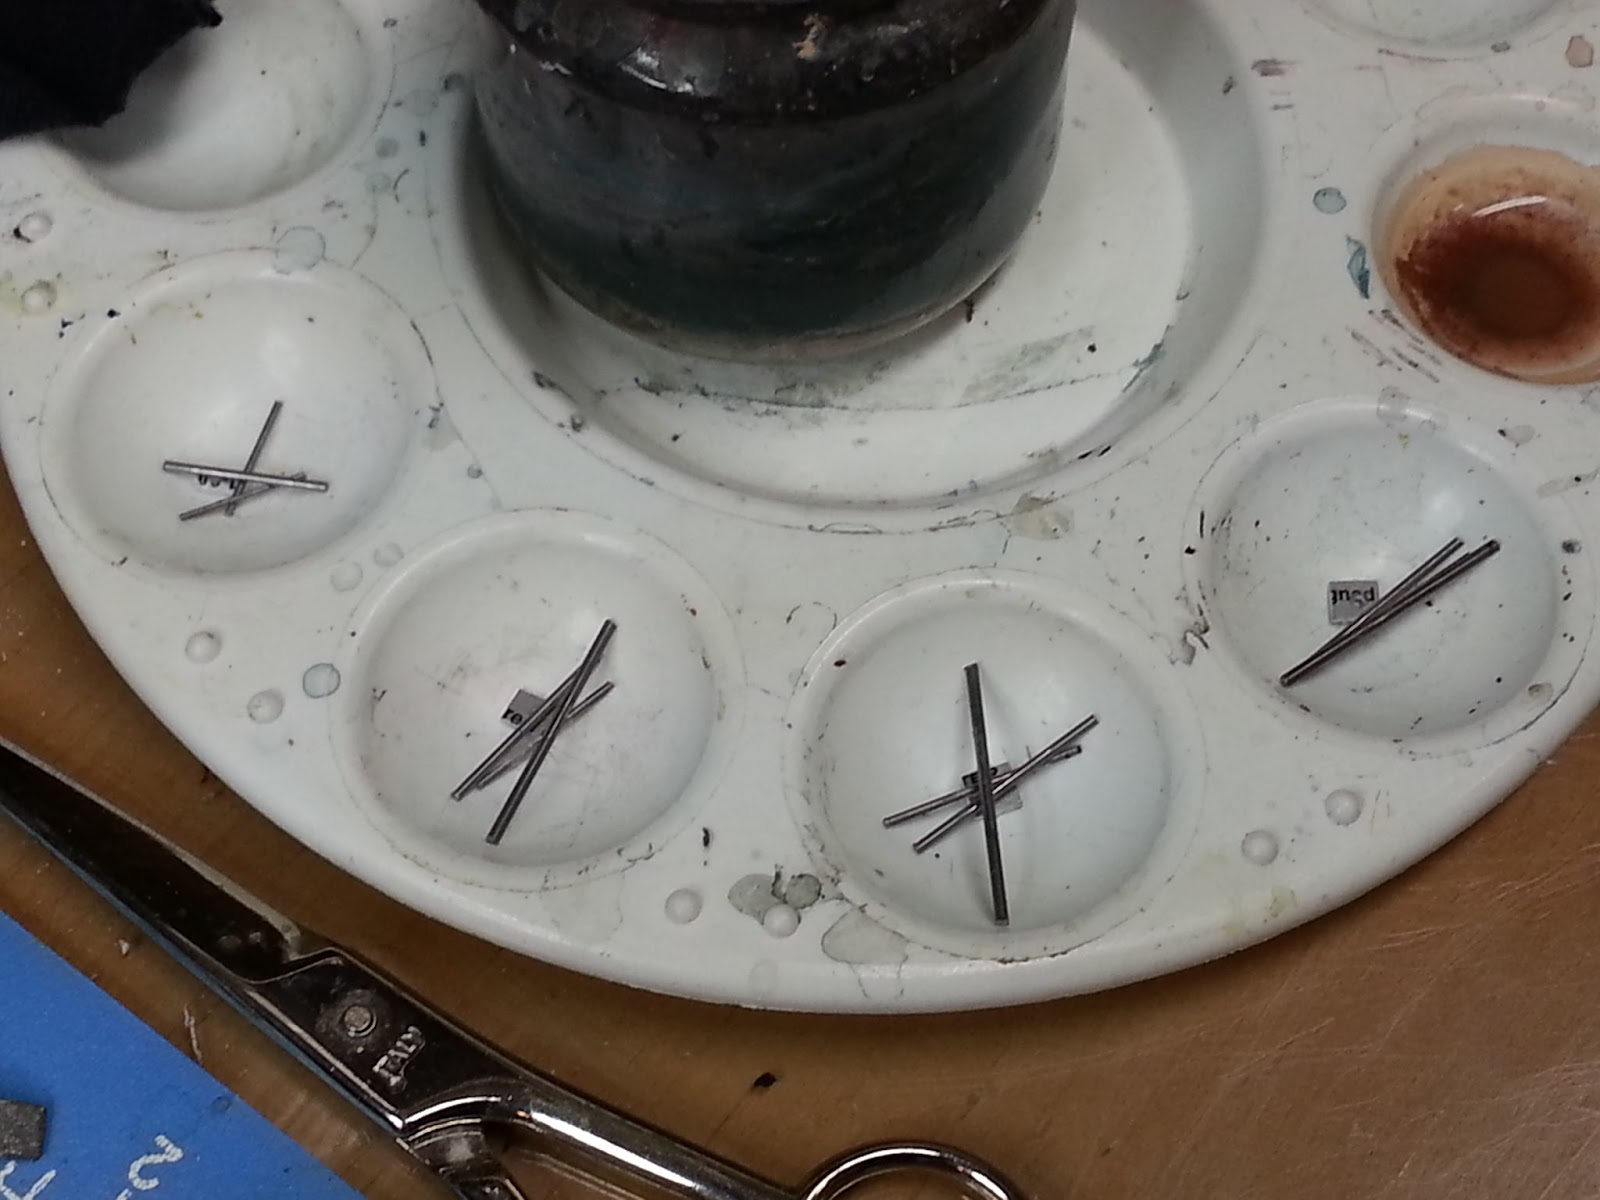
Masts are made with .047 music wire, topmasts with .039, and top gallant masts with .032. The fighting top is drilled then slid over the mast. The topmast is glued to the part of the mast above the fighting top. Two pieces of black thread are tied around the joint for detail as well as strength. The joint is coated with super glue. Then the top gallant mast is similarly attached to the topmast.


I have always kept a Mast Log where I record the dimensions of masts from various manufacturer's models. I have started recording the sails as well so I have templates I can use.


I stopped here to make the base. The base is acid free art mat, with two coats of spar varnish. Household vinyl spackle is what I use to sculpt the water. After the spackle thoroughly dries, I paint the base with Navy Blue. After that dries, I dry brush a dark blue-green with the waves, and if there are any whitecaps I will dry brush white against the waves. This base is calm water so no white, except for the wake.

When the base is dry I coat it with either Mod Podge or Triple Thick Gloss Glaze.
Next I started the sails. I have tried just about everything for sails, but I have landed on heavy bond art paper, the kind you can buy in large tablets at Hobby Lobby. Most people use it for charcoal drawing. I transfer the templates in my Mast Log using carbon paper to the art paper.


The sails are cut out and glued with PVA to some smooth plastic or metal curved object like a pen or marker.


After the sails are dry they pop right off the curved surface. Then spars are cut and glued to the sails. The sails and spars are painted and then the detail is added: Leech lines, bunt lines, clew lines.


The masts are attached to the hull.

Then the sails and spars are attached one mast at a time and more detail is added.
I used cut staples to make the skid beams and added a GHQ ship's boat.


And now for the standard rigging, using Rod Langton's guide book.


The finished ship with running rigging. 


The only parts of this model that are not scratch built are the anchors and the ship's boat.
The last thing I still need to do is add the ensign and commission pendant.
Here are a few comparison shots:
With Langton 68 gun Dutch on right

With Langton 56 gun Glatton on left

With Davco 42 gun frigate on left
I believe, now that I have successfully completed one ship, that I can build any ship as long as I have the deck and profile plans, regardless of size. It did take quite a bit more time than the average manufactured model, even the Navwar models.

I hope you have enjoyed this build log.