
When I presented the Diagon Alley booknook I made to my older daughter for her birthday it was a big hit with both girls. The younger one was jealous and wanted exactly the same one for her birthday! But after thinking about it for a while, she decided she wanted the fight between Gandalf and the balrog on the bridge at Khazad Dum (Moria). So here is what I came up with after a lot of thinking and deliberation and experimentation. I hope you like it.
 |
| Not really knowing what I wanted, I just roughed out a shape using some scrap Styrofoam packing I saved (I never throw anything away, LOL) |
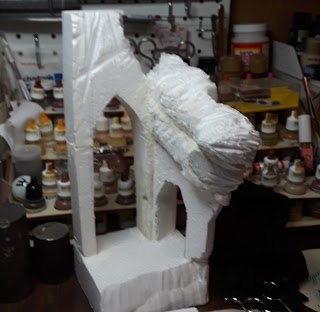 |
| A little more shaping and a bit of mud |
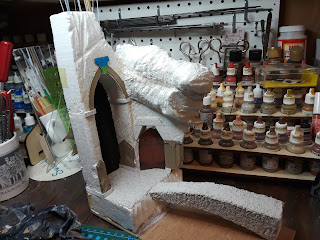 |
| Adding some detail with card from a cereal box (I never throw anything away, seriously!) |
 |
| The front door & viewing pane with bridge support |

 |
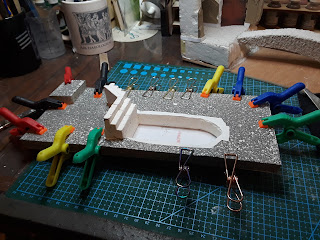
| The sculpt is glued to the plywood base |
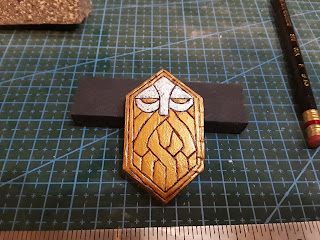 |
| Dwarf head for the front panel is made from a piece of 1/4" foam core |
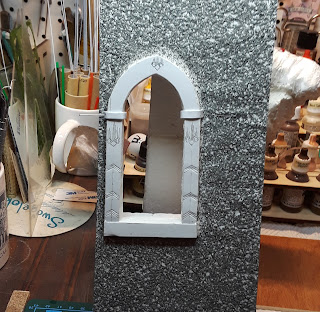 |
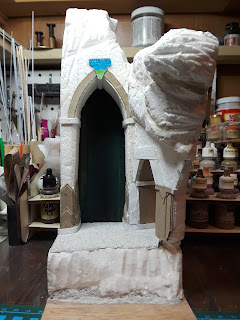
| I added a little dress up to the door frame |

 |
| Surface is Celluclay |
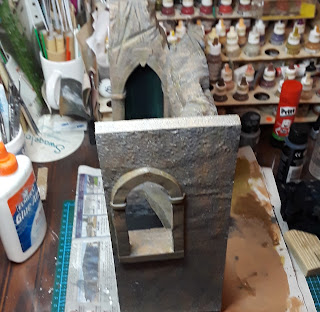 |
| Front panel glued to base and started some painting |
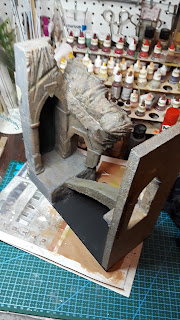 |
| The bridge is added. I was going for a forced perspective so the bridge is smaller at the far end |
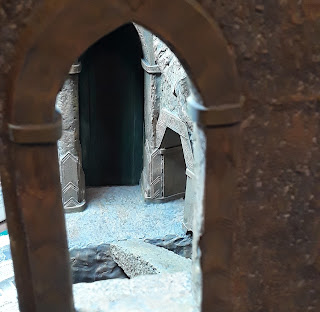 |
| Testing out the view here |

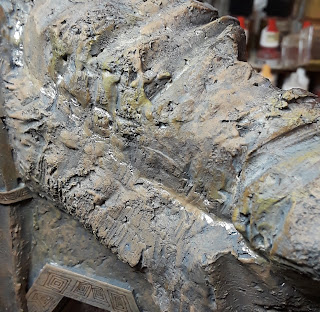 |
| Decided to add a little Mithril silver vein here |


Initially my daughter wanted to sculpt the balrog. All she has ever worked with is bisque clay. She purchased some Super Sculpey but didn't know how to work with it. I pointed her to some Youtube videos where she learned she needed to make armatures, but she didn't have wire or tools to do it. She tried tinfoil but didn't like how it turned out. She got frustrated and eventually gave up. So I offered to try and find a 3D balrog I could print and she agreed. This balrog took 9 and a half hours to print!
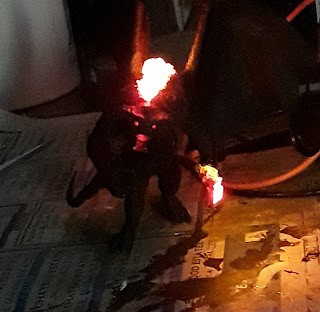 |
| The balrog was hell to clean up. I finally got the lights and started modifying the model to take them |
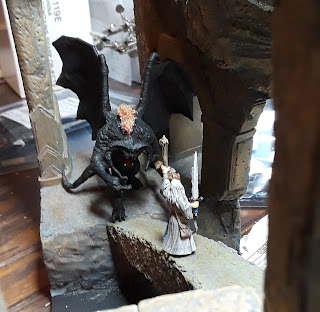 |
| Lighting Gandalf"s staff and sword took some thought and careful placing on the bridge |
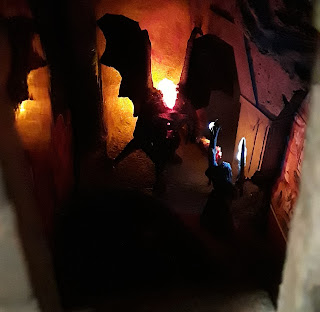 |
| This shot is taken sandwiched in my bookshelf. The fire and wing reflection on the left and the pattern on the right are from the shiny book covers on either side. I thought the fire reflection looked pretty cool. Almost made me think about trying to add a mirror to this one. |
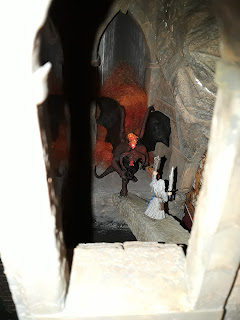 |
| The camera flash added a pretty cool pillar shadow image in this shot |

 |
| Since I had both flicker and steady circuits, I split the power source to one battery for the flickers and two for the steady lights. I ganged the switches in the front and painted them copper. |
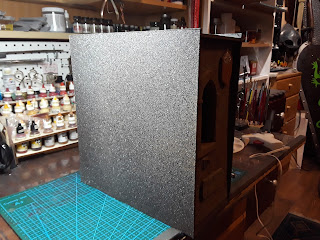 |
| I tried to give a stone texture to the box |


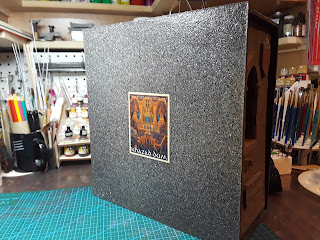 |
| As an afterthought I decided to dress up the box a bit more |
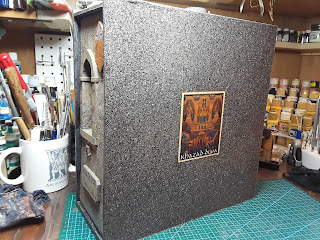 |
| Both sides |
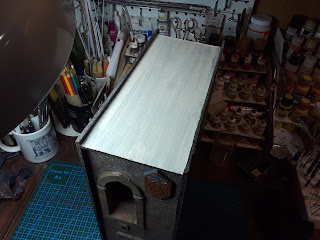 |
| Not that easy to see but the top and back are painted cream with the heavy brush strokes left visible to try and simulate the pages of a book |


6 comments:
Well that came out rather good. Great job! I’m sure she’s very happy with it. Least she better be….
It’s also kinda cool that you got the know-how to even create such a thing. I wouldn’t even know where to begin. If my daughter asked me for something similar I’d say “who do you think I am, Someone talented? Go away. “
😀😀
Stunning work!
~ Tom T
Hey Vol, that is brilliant, nice work.
JJ
Haha, don't sell yourself too short Stew. And this is only my 2nd try at this nook thing. I watched a lot of Youtube videos to gain the know-how! Nerdforge ans North of the Border are the most helpful channels.
Thank you Tom
Thanks JJ. I am doing one more nook for my self then back to the ships!
Post a Comment